Microsoft recently re-branded Virtual Studio Team Services into Azure DevOps. With it came a face-lift and some great new features. I have been using GitHub for my zPlanner project, and recently thought it would be cool to take advantage of the CI/CD tools available with Azure DevOps. So this article is a quick how-to on cloning your GitHub repo into Azure DevOps.
Creating a Project
A project is a management structure that combines a repository with other functionality that you use when working with code. For example, an Azure DevOps project includes things such as build pipelines, boards (features, bugs, user stories, etc), test plans, and more!

So the first thing we need to do is create a project. To do that
Next fill in the new project card with the proper information. Make sure to click Advanced if you want to change the version control
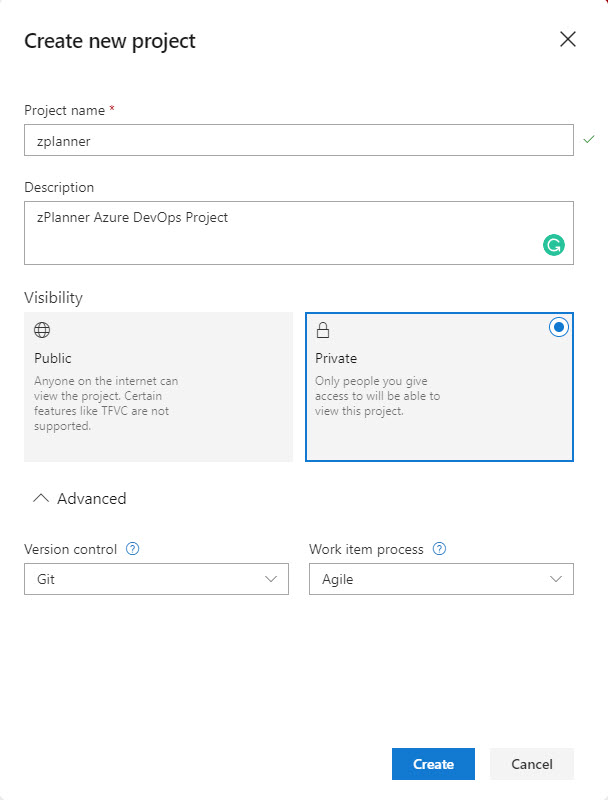
Once your project has been created you will be taken to the project summary page. Here you can see project members, the readme, and some stats about your repos (but you don’t have one yet… so now let’s import from GitHub).
Importing your GitHub repo
Now that we have a project we can navigate to the repo’s section of our project and import our existing GitHub repo.
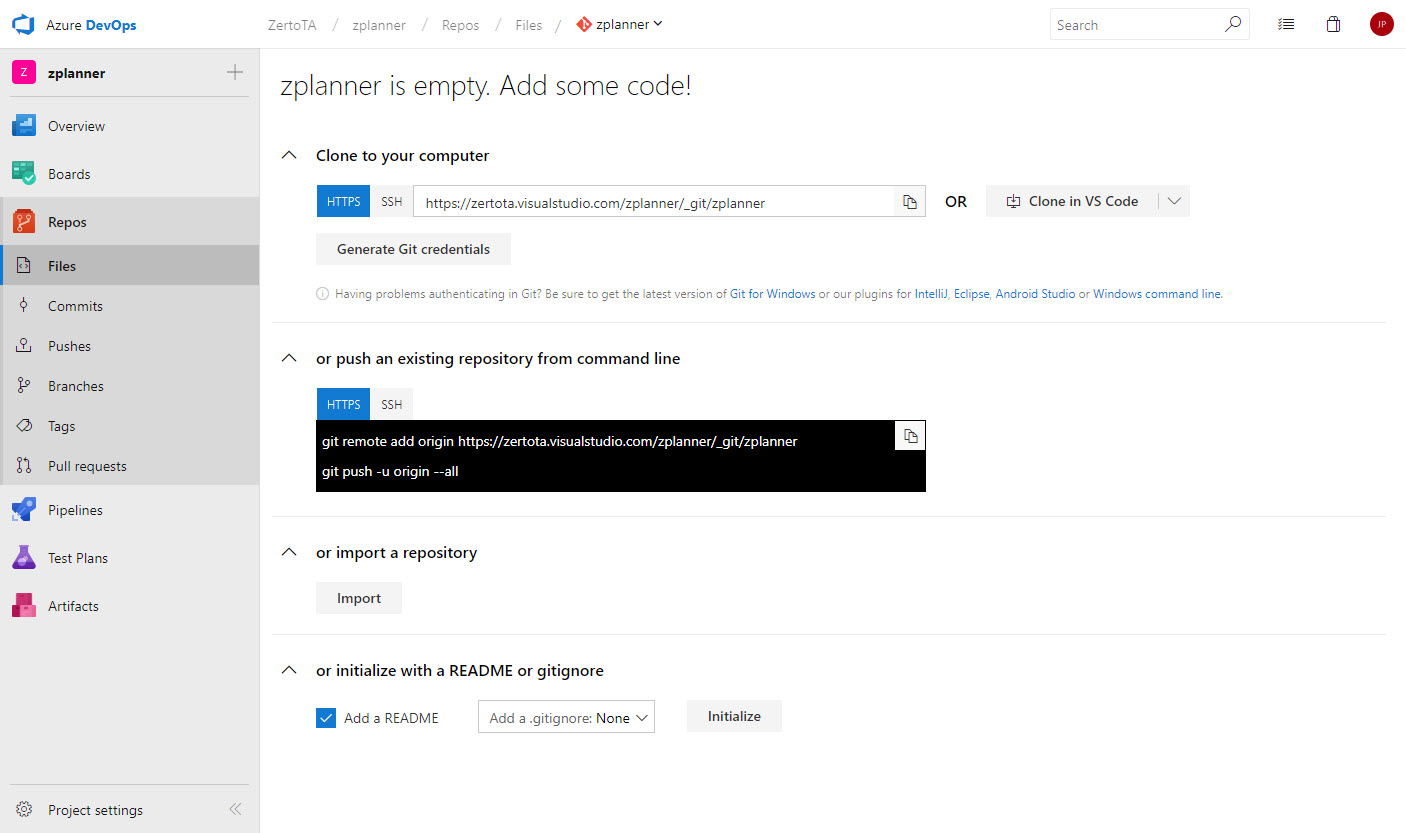
On this screen we can click on the Import button about half way down the page. That will trigger a popup that asks where the source repo is located. From here you should select “git” as the source type, and paste in your clone URL from GitHub. If it’s a private GitHub repo you will need to check the authorization box ad enter your credentials.
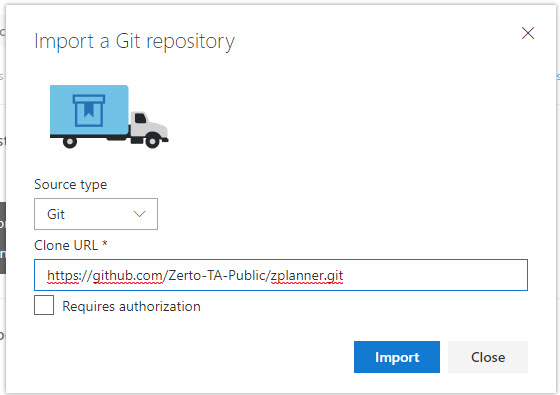
Click Import to start the process. Depending on your project size it can take a couple of minutes.
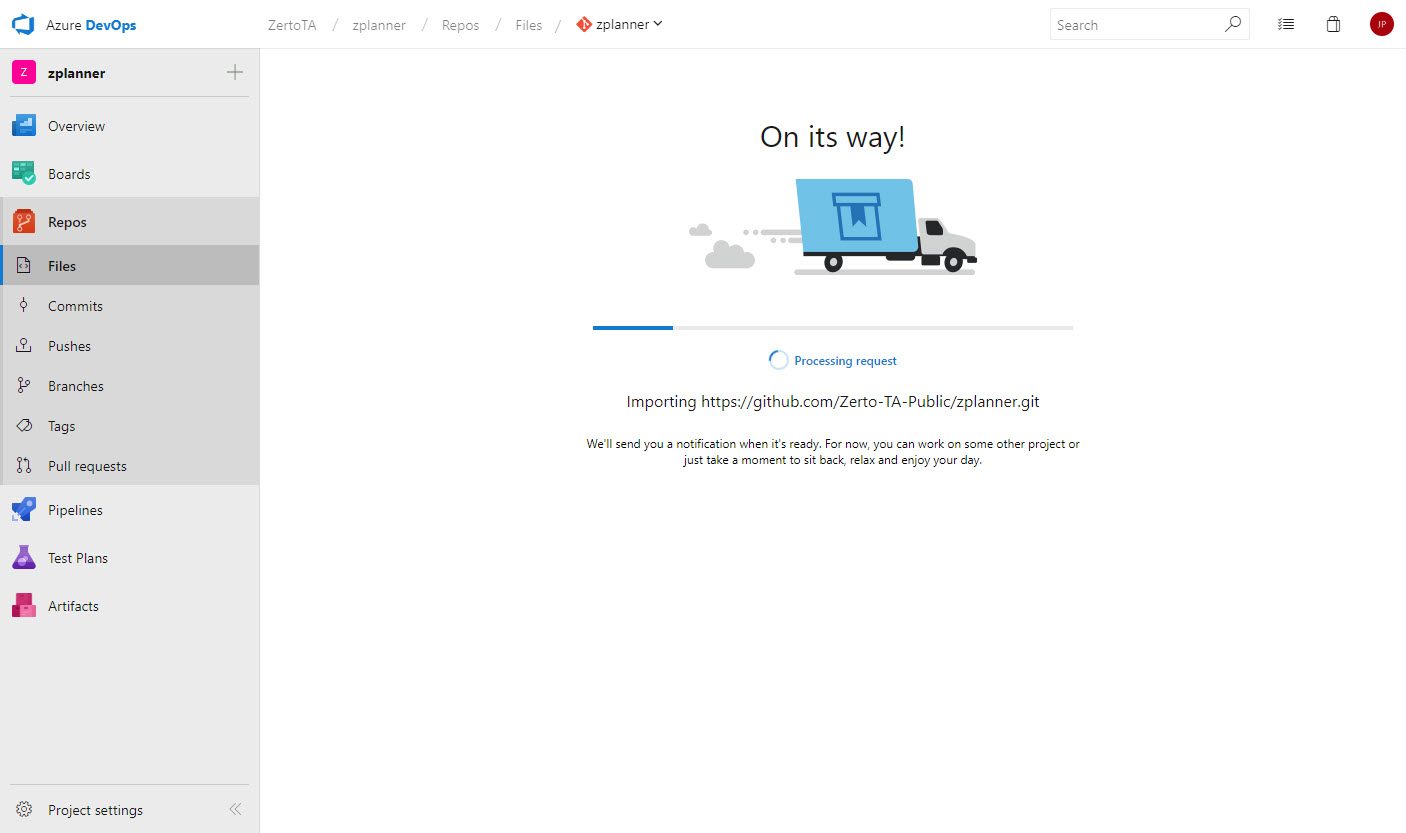
My project is small, so by the time you read that and scrolled down, it was already imported.
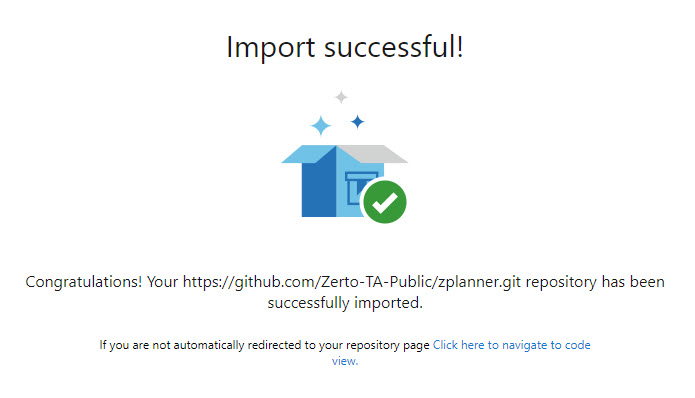
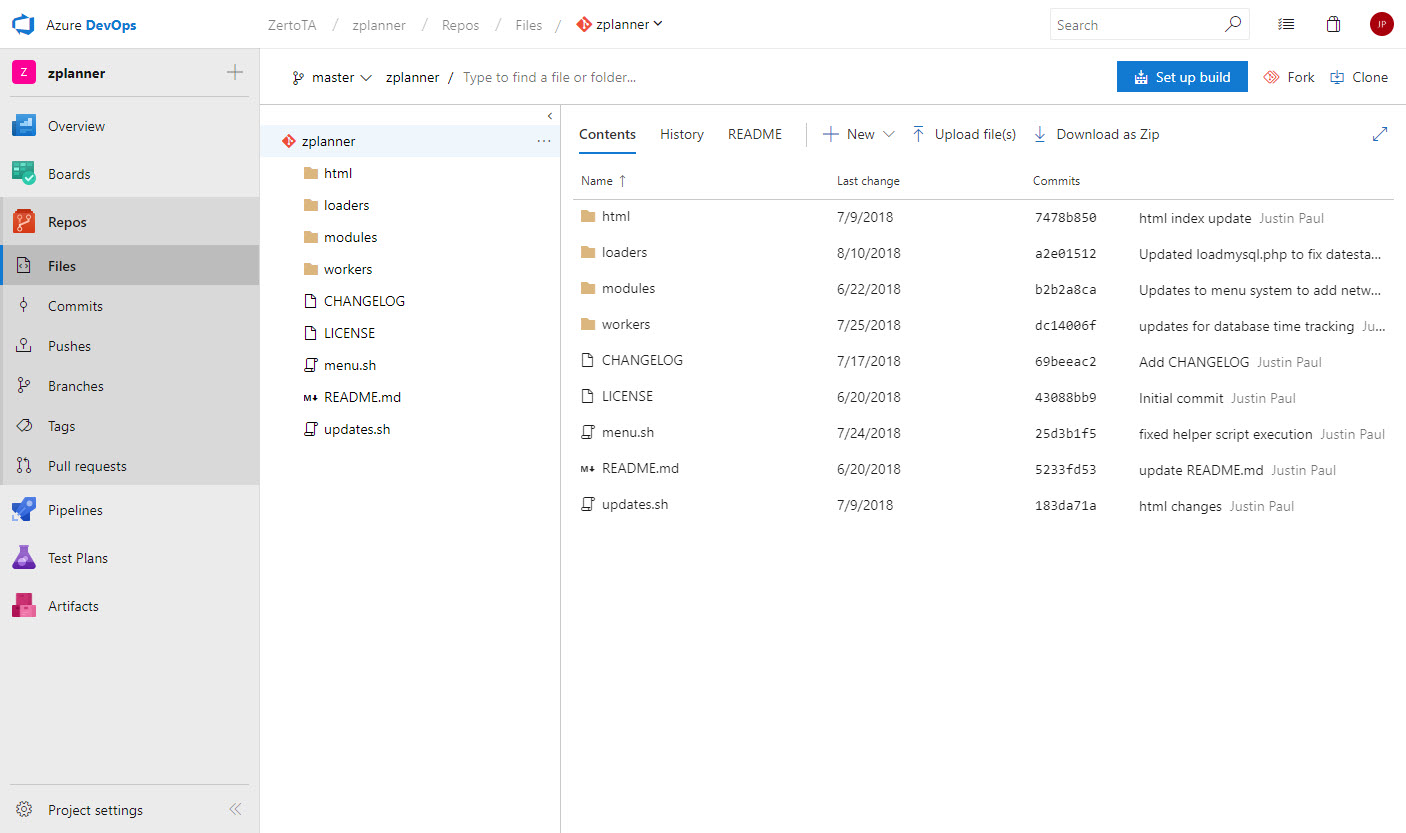
After being redirected it looked as though all my files were still there.
I also thought, hmm I wonder if it also brings along all the revision information… Sure enough
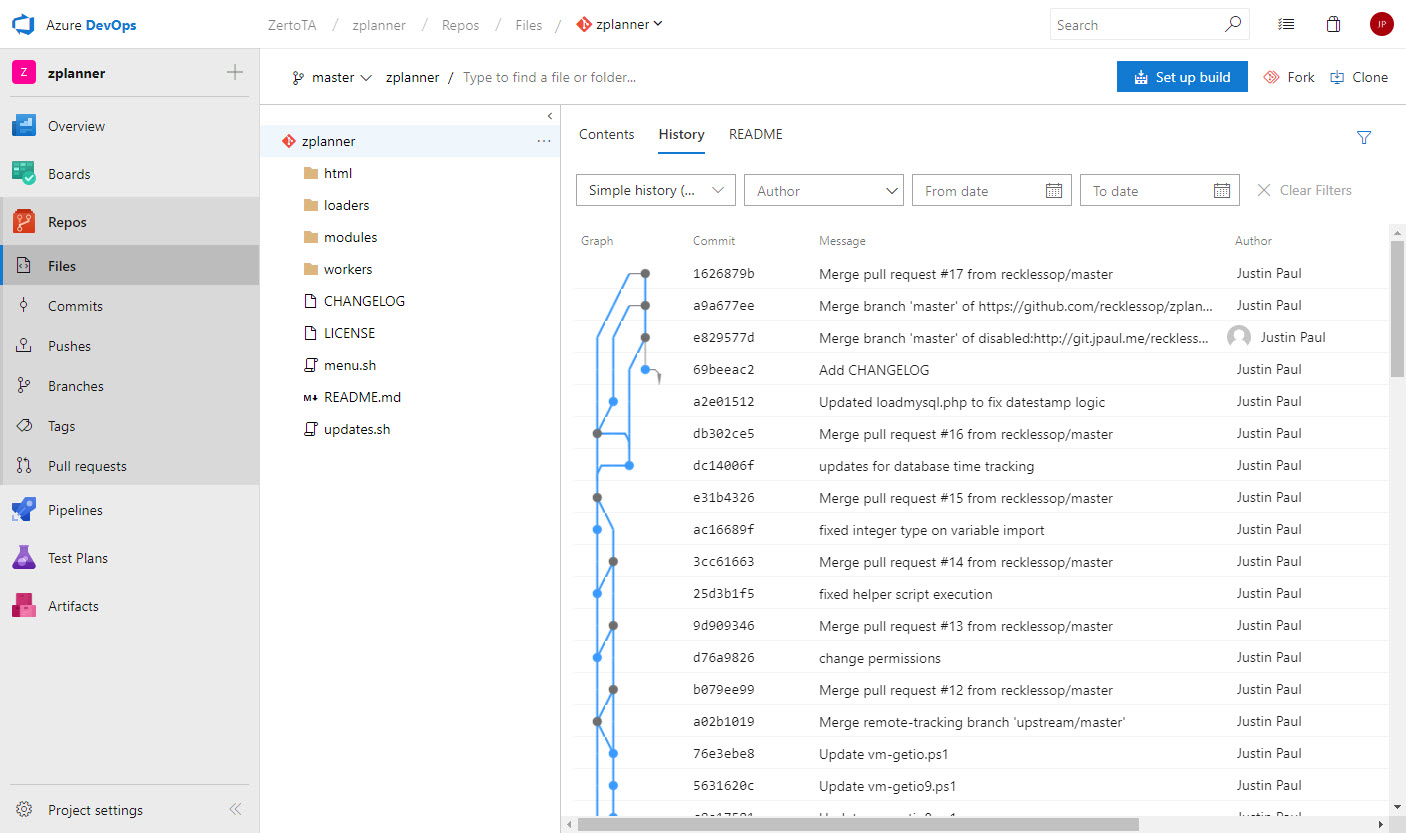
All Done!
That was pretty easy! I
Thanks for reading!
![]()

