
Configuring ZVM Appliance multi-factor authentication should be at the top of your to-do list once you have migrated away from the Windows-based ZVM. (or when you deploy a new ZVM appliance) It is a quick and easy way to add another layer of security to your Zerto data protection platform.
ZVMa, as I like to call it, leverages KeyCloak for authentication and because of that, we get all of the awesomeness that comes along with it! I will assume that you already have one or more ZVM appliances deployed and are ready to add MFA
Update: Video How To!
I recently created a video walking through how to enable MFA. If you would like to see this in action, check it out here: https://youtu.be/p_kL4W0EseM
Enabling MFA
To get started you need to log in to Keycloak on your ZVM appliance. Navigate to https://<zvma-ip-address>/auth/
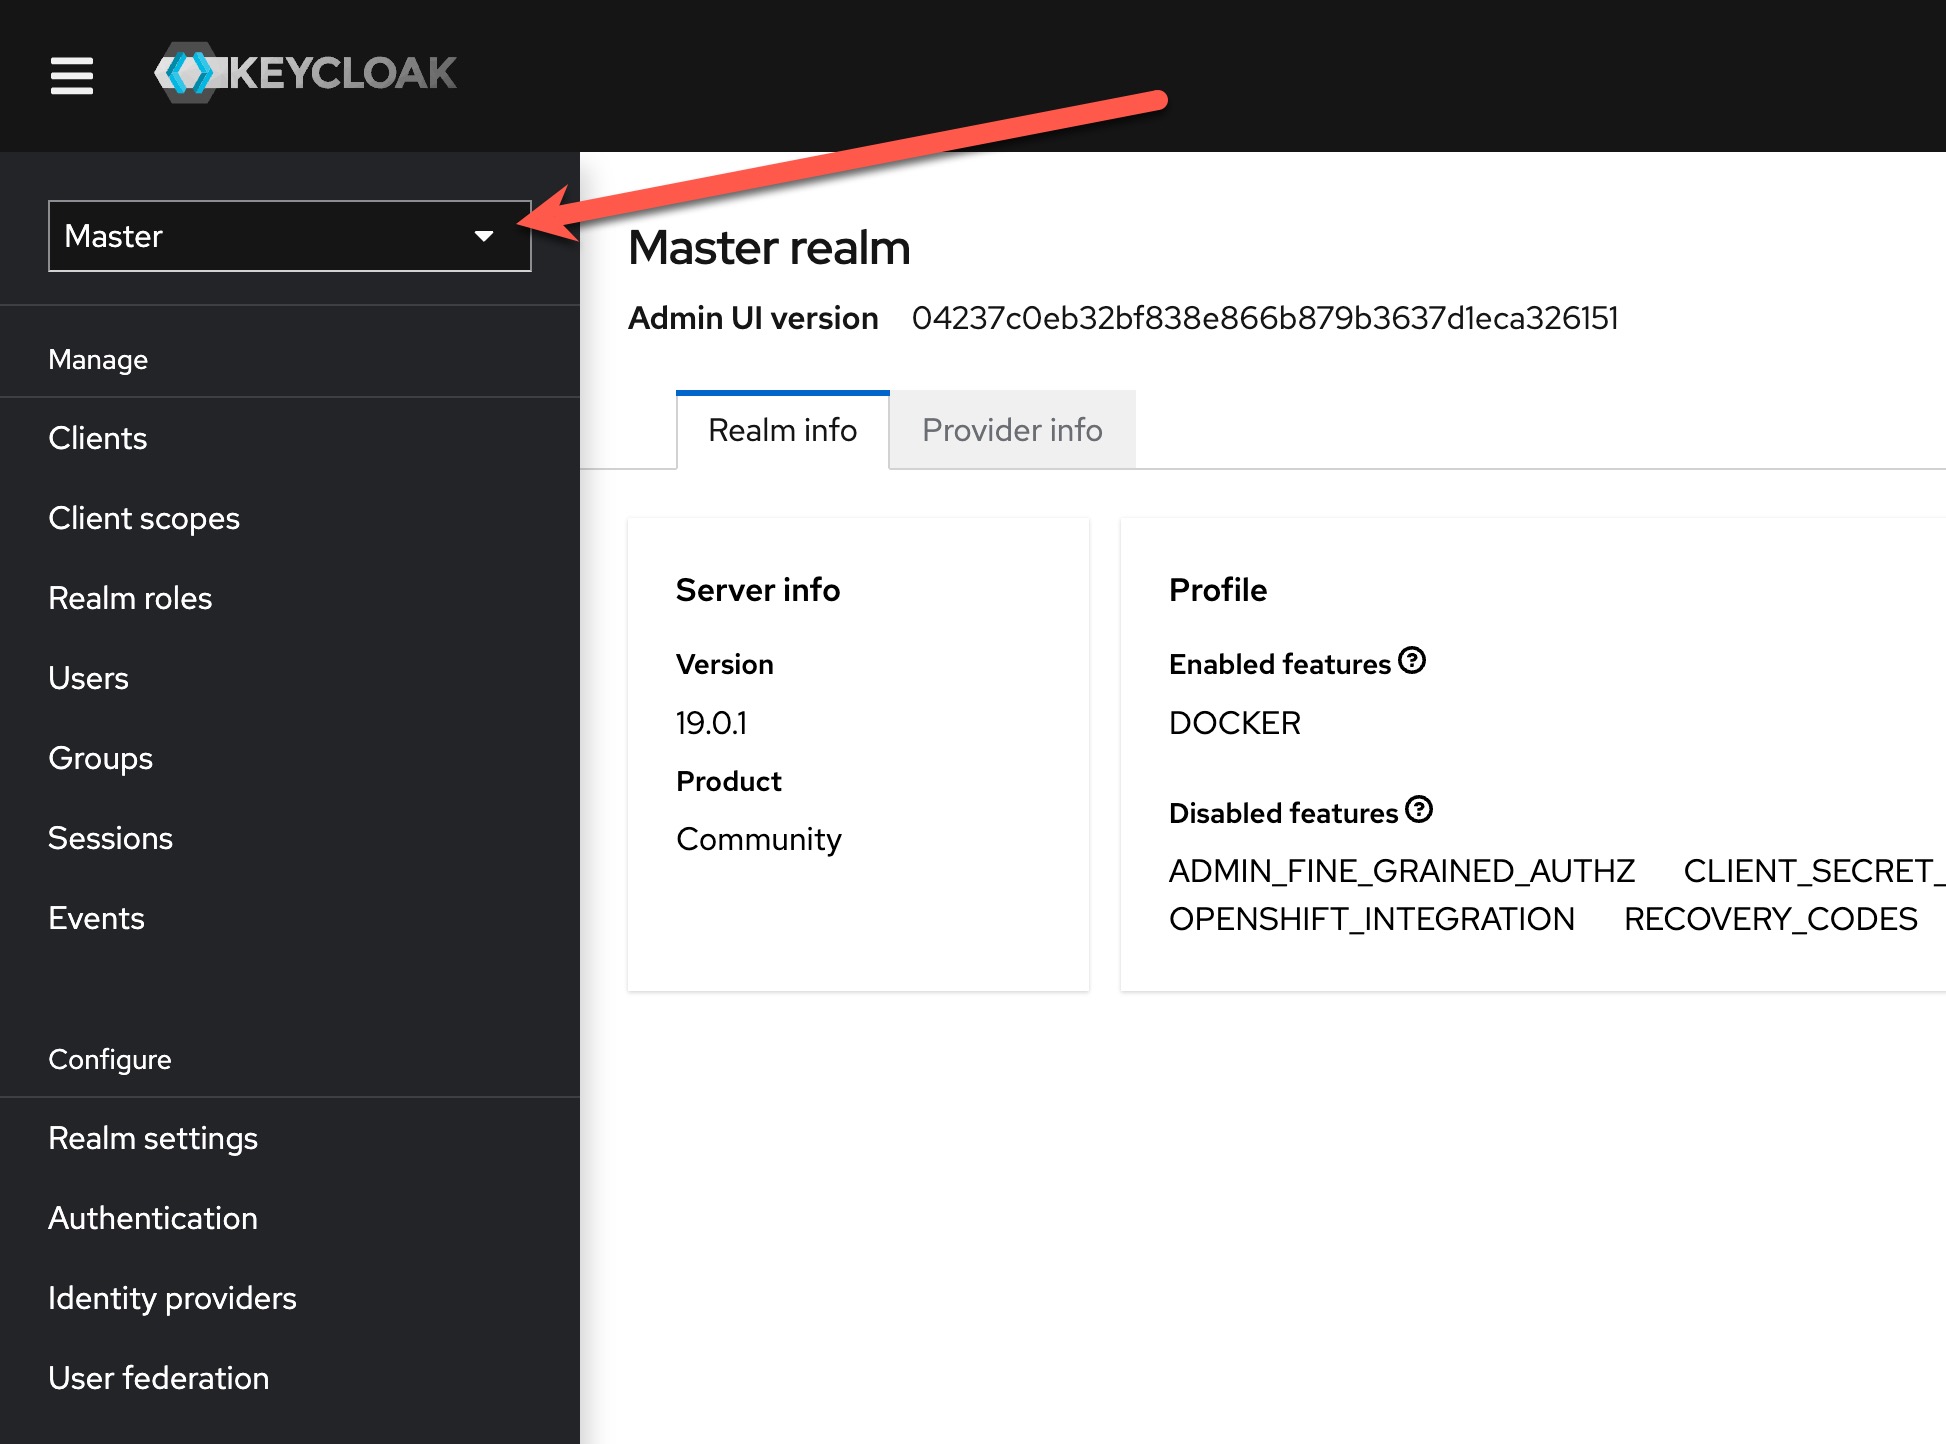
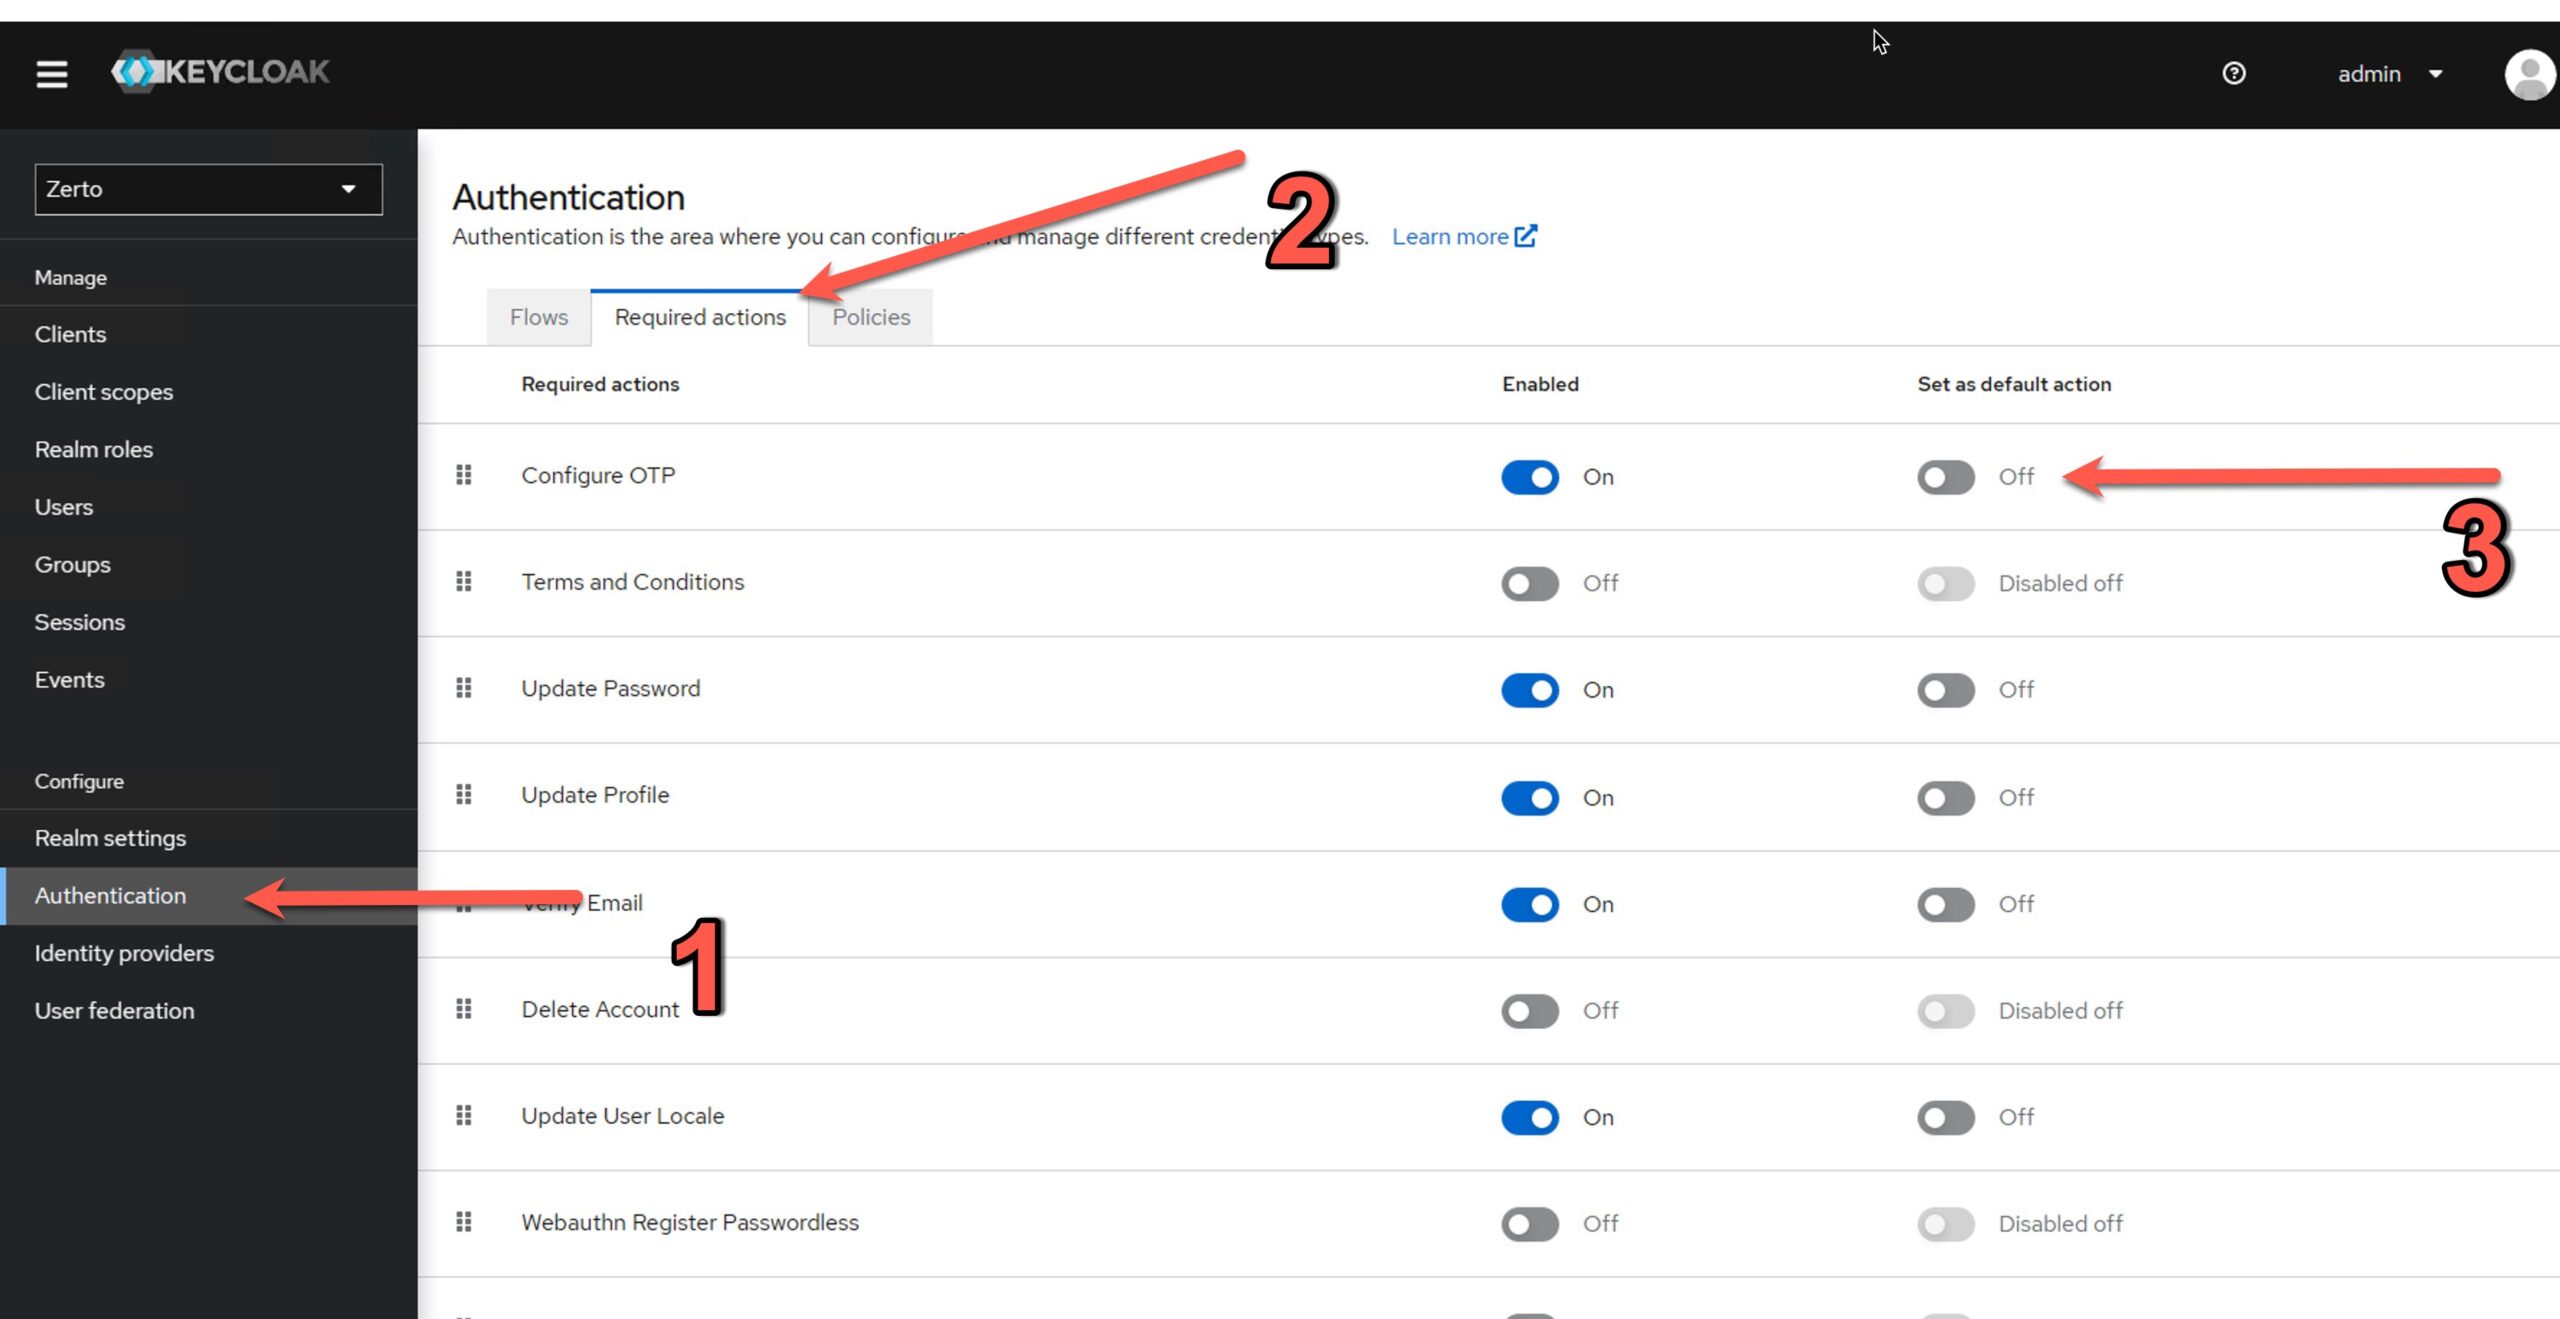
Once you are logged in, the first thing you want to do is switch over to the “Zerto” realm. This part ALWAYS gets me… I end up doing stuff in the Master realm and that won’t help us! Click the realm drop-down menu and select “Zerto”.
Now we can change the MFA settings for the Zerto realm with three clicks.
- Click the “Authentication” link on the left
- Click the “Required actions” tab
- Slide the switch to “On” for “Configure OTP”
Once you complete those stesp, you can go to each existing user that needs MFA and force Keycloak to configure it on their next login.
Customizing the Realm
Before we have our users configure MFA, we should consider changing one more thing to make everyone’s life easier.
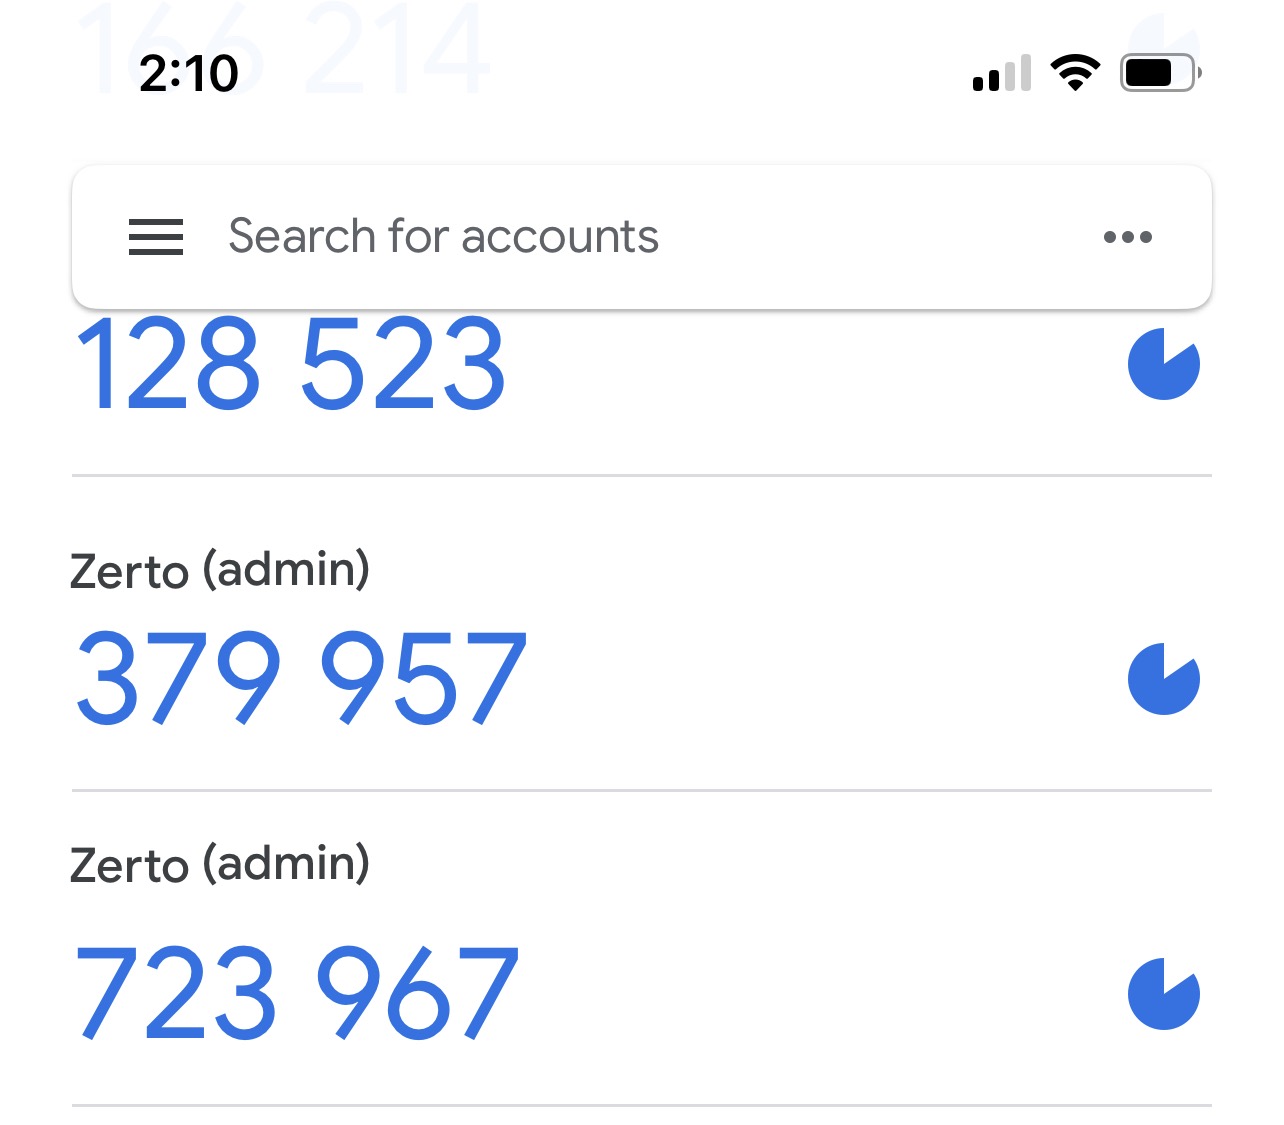
Chances are you have at least two ZVM’s and you will probably want MFA on both of them (why wouldn’t you right?). Well if you do that, and you add both to your OTP app, you are going to have multiple “Zerto (username)” OTP instances in your app. Then you have to figure out which one is which!
If we do one more thing in Keycloak, we can customize this setting to show a site name (or whatever you want) for each OTP instance.
First, make sure you are still in the “Zerto” realm, then click on “Realm settings” right above Authentication in the left menu.
Next Change the Display name text to something that easily identifies this ZVM for your users. Then click “Save”.
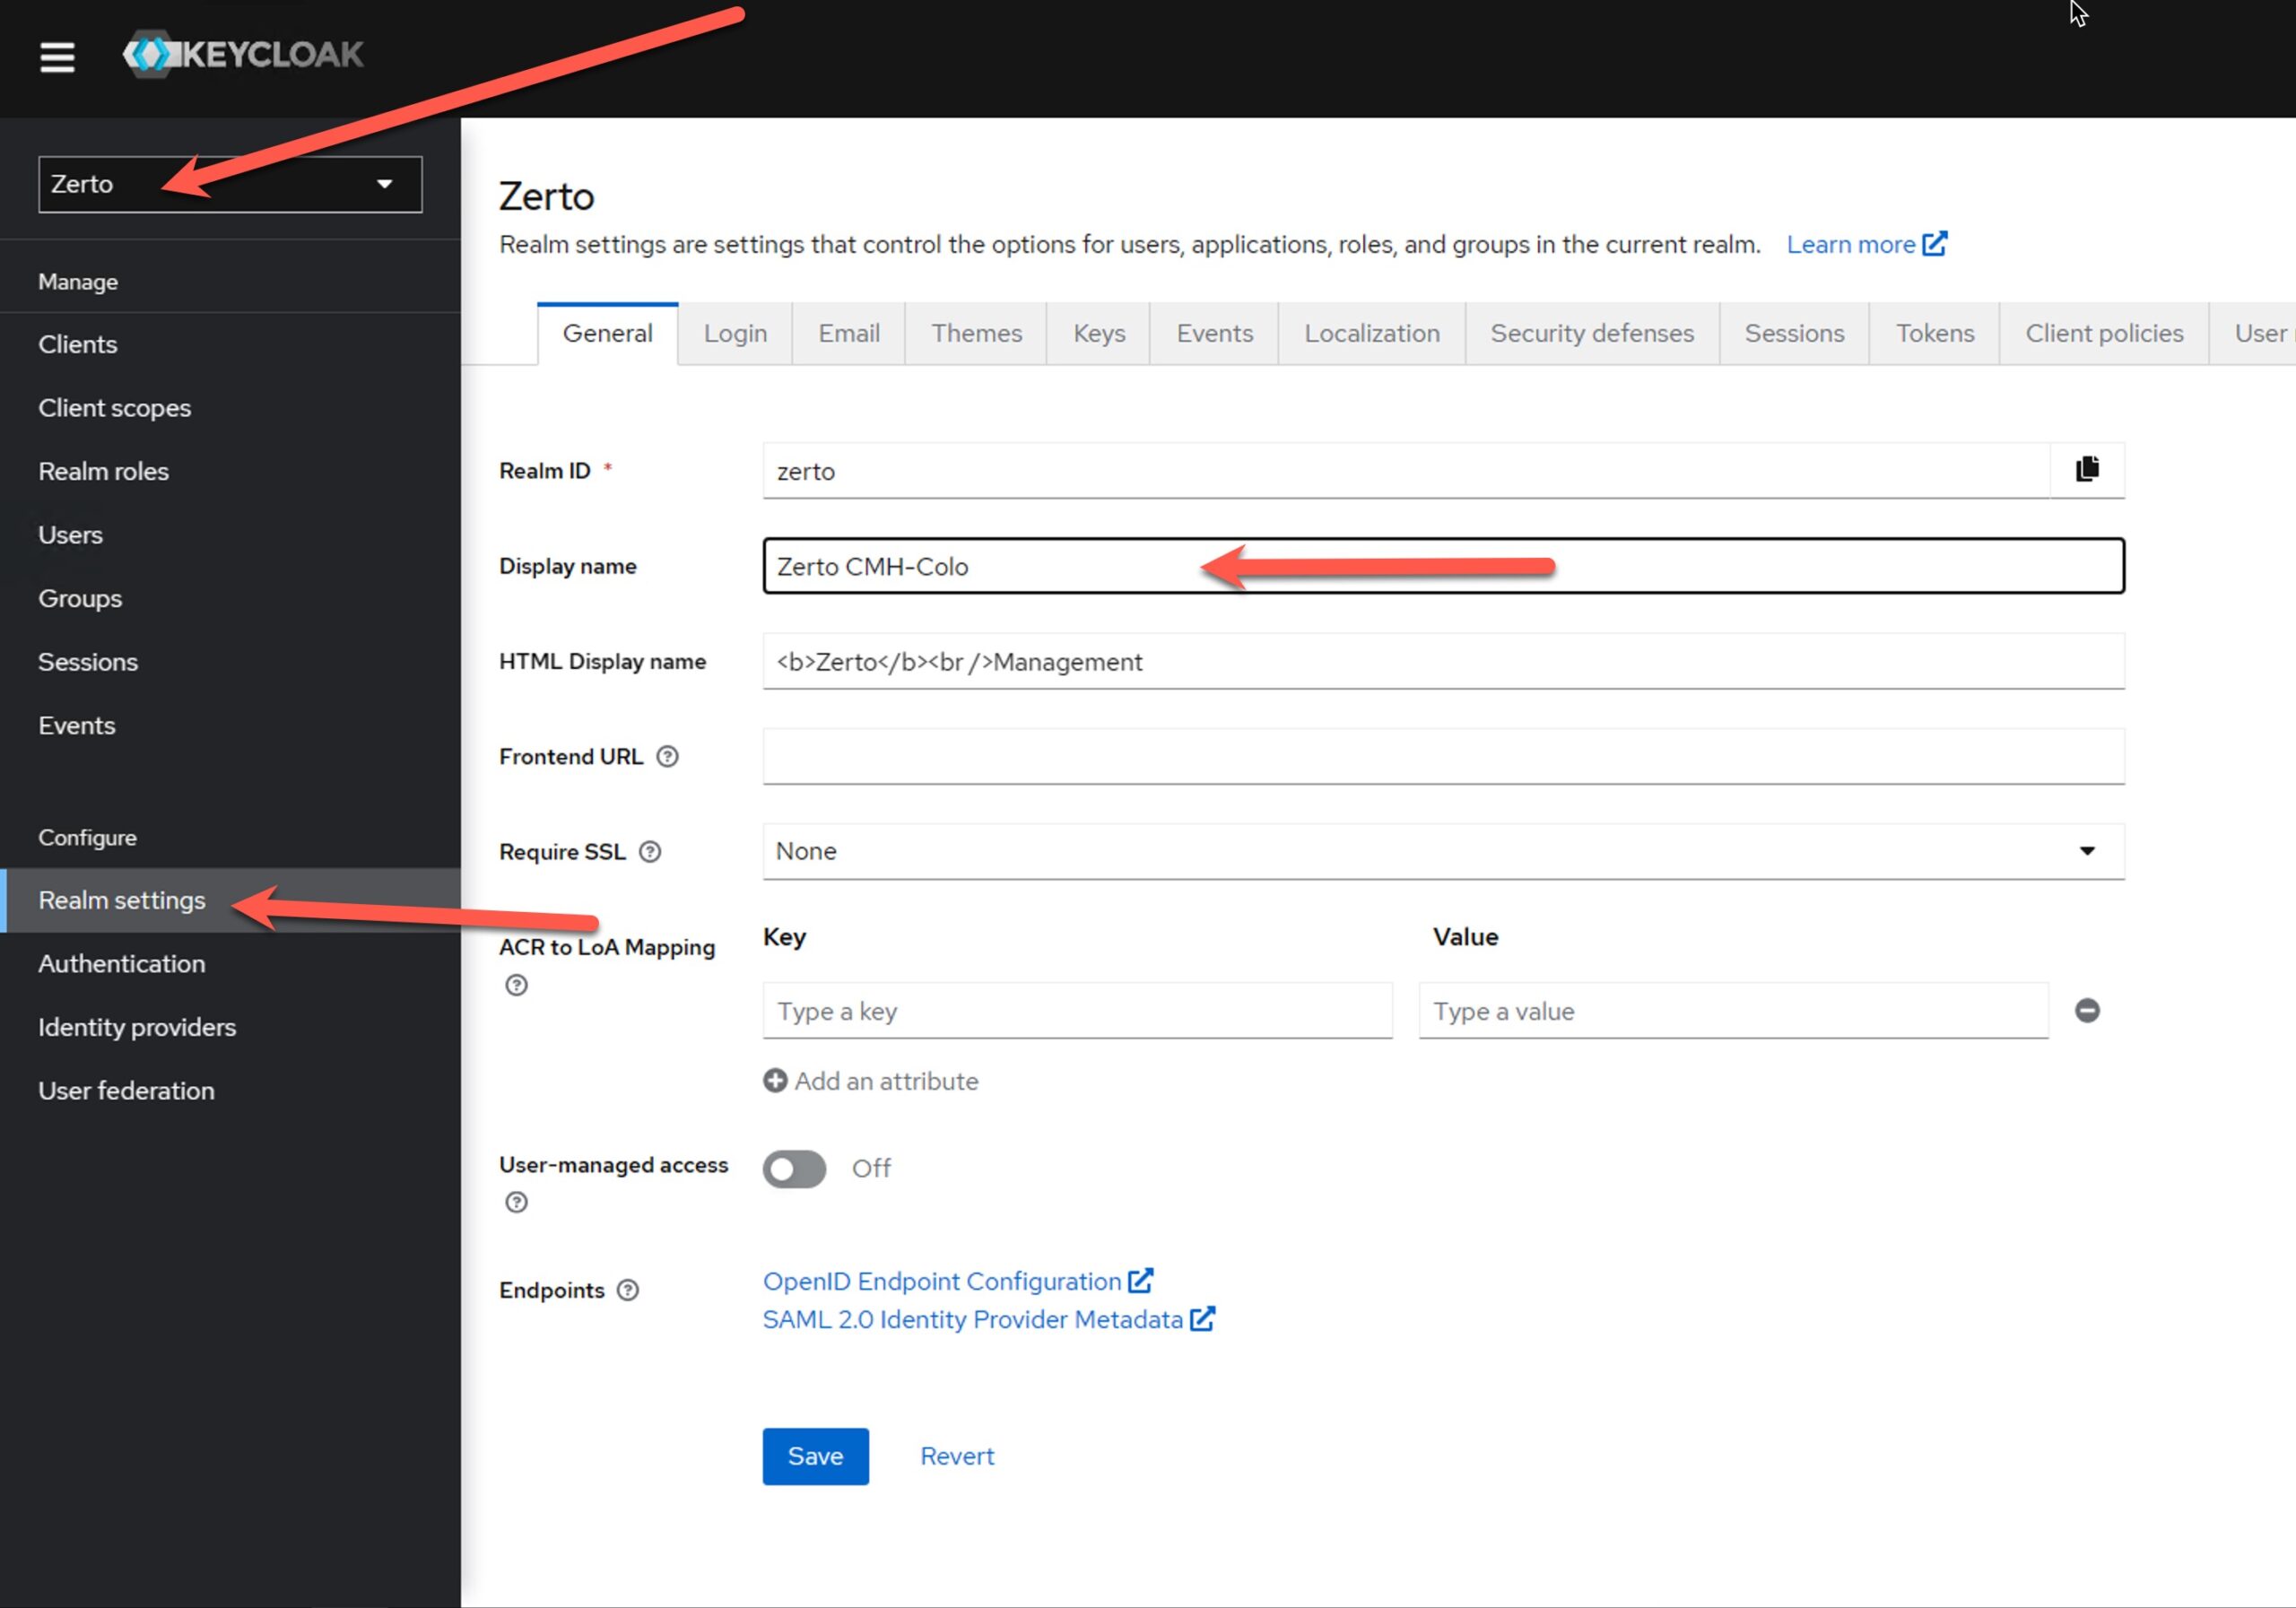
Now, when you scan the QR code into your authenticator app, it will show the custom name.
Configuring Users
Now that Keycloak knows that we want MFA (or One-Time Passwords) we can finish turning it on for new or existing users.
Navigate over to the “Users” link in the left menu. Then in the “Required user actions” drop-down menu select “Configure OTP”. Click “Create” or “Save”.
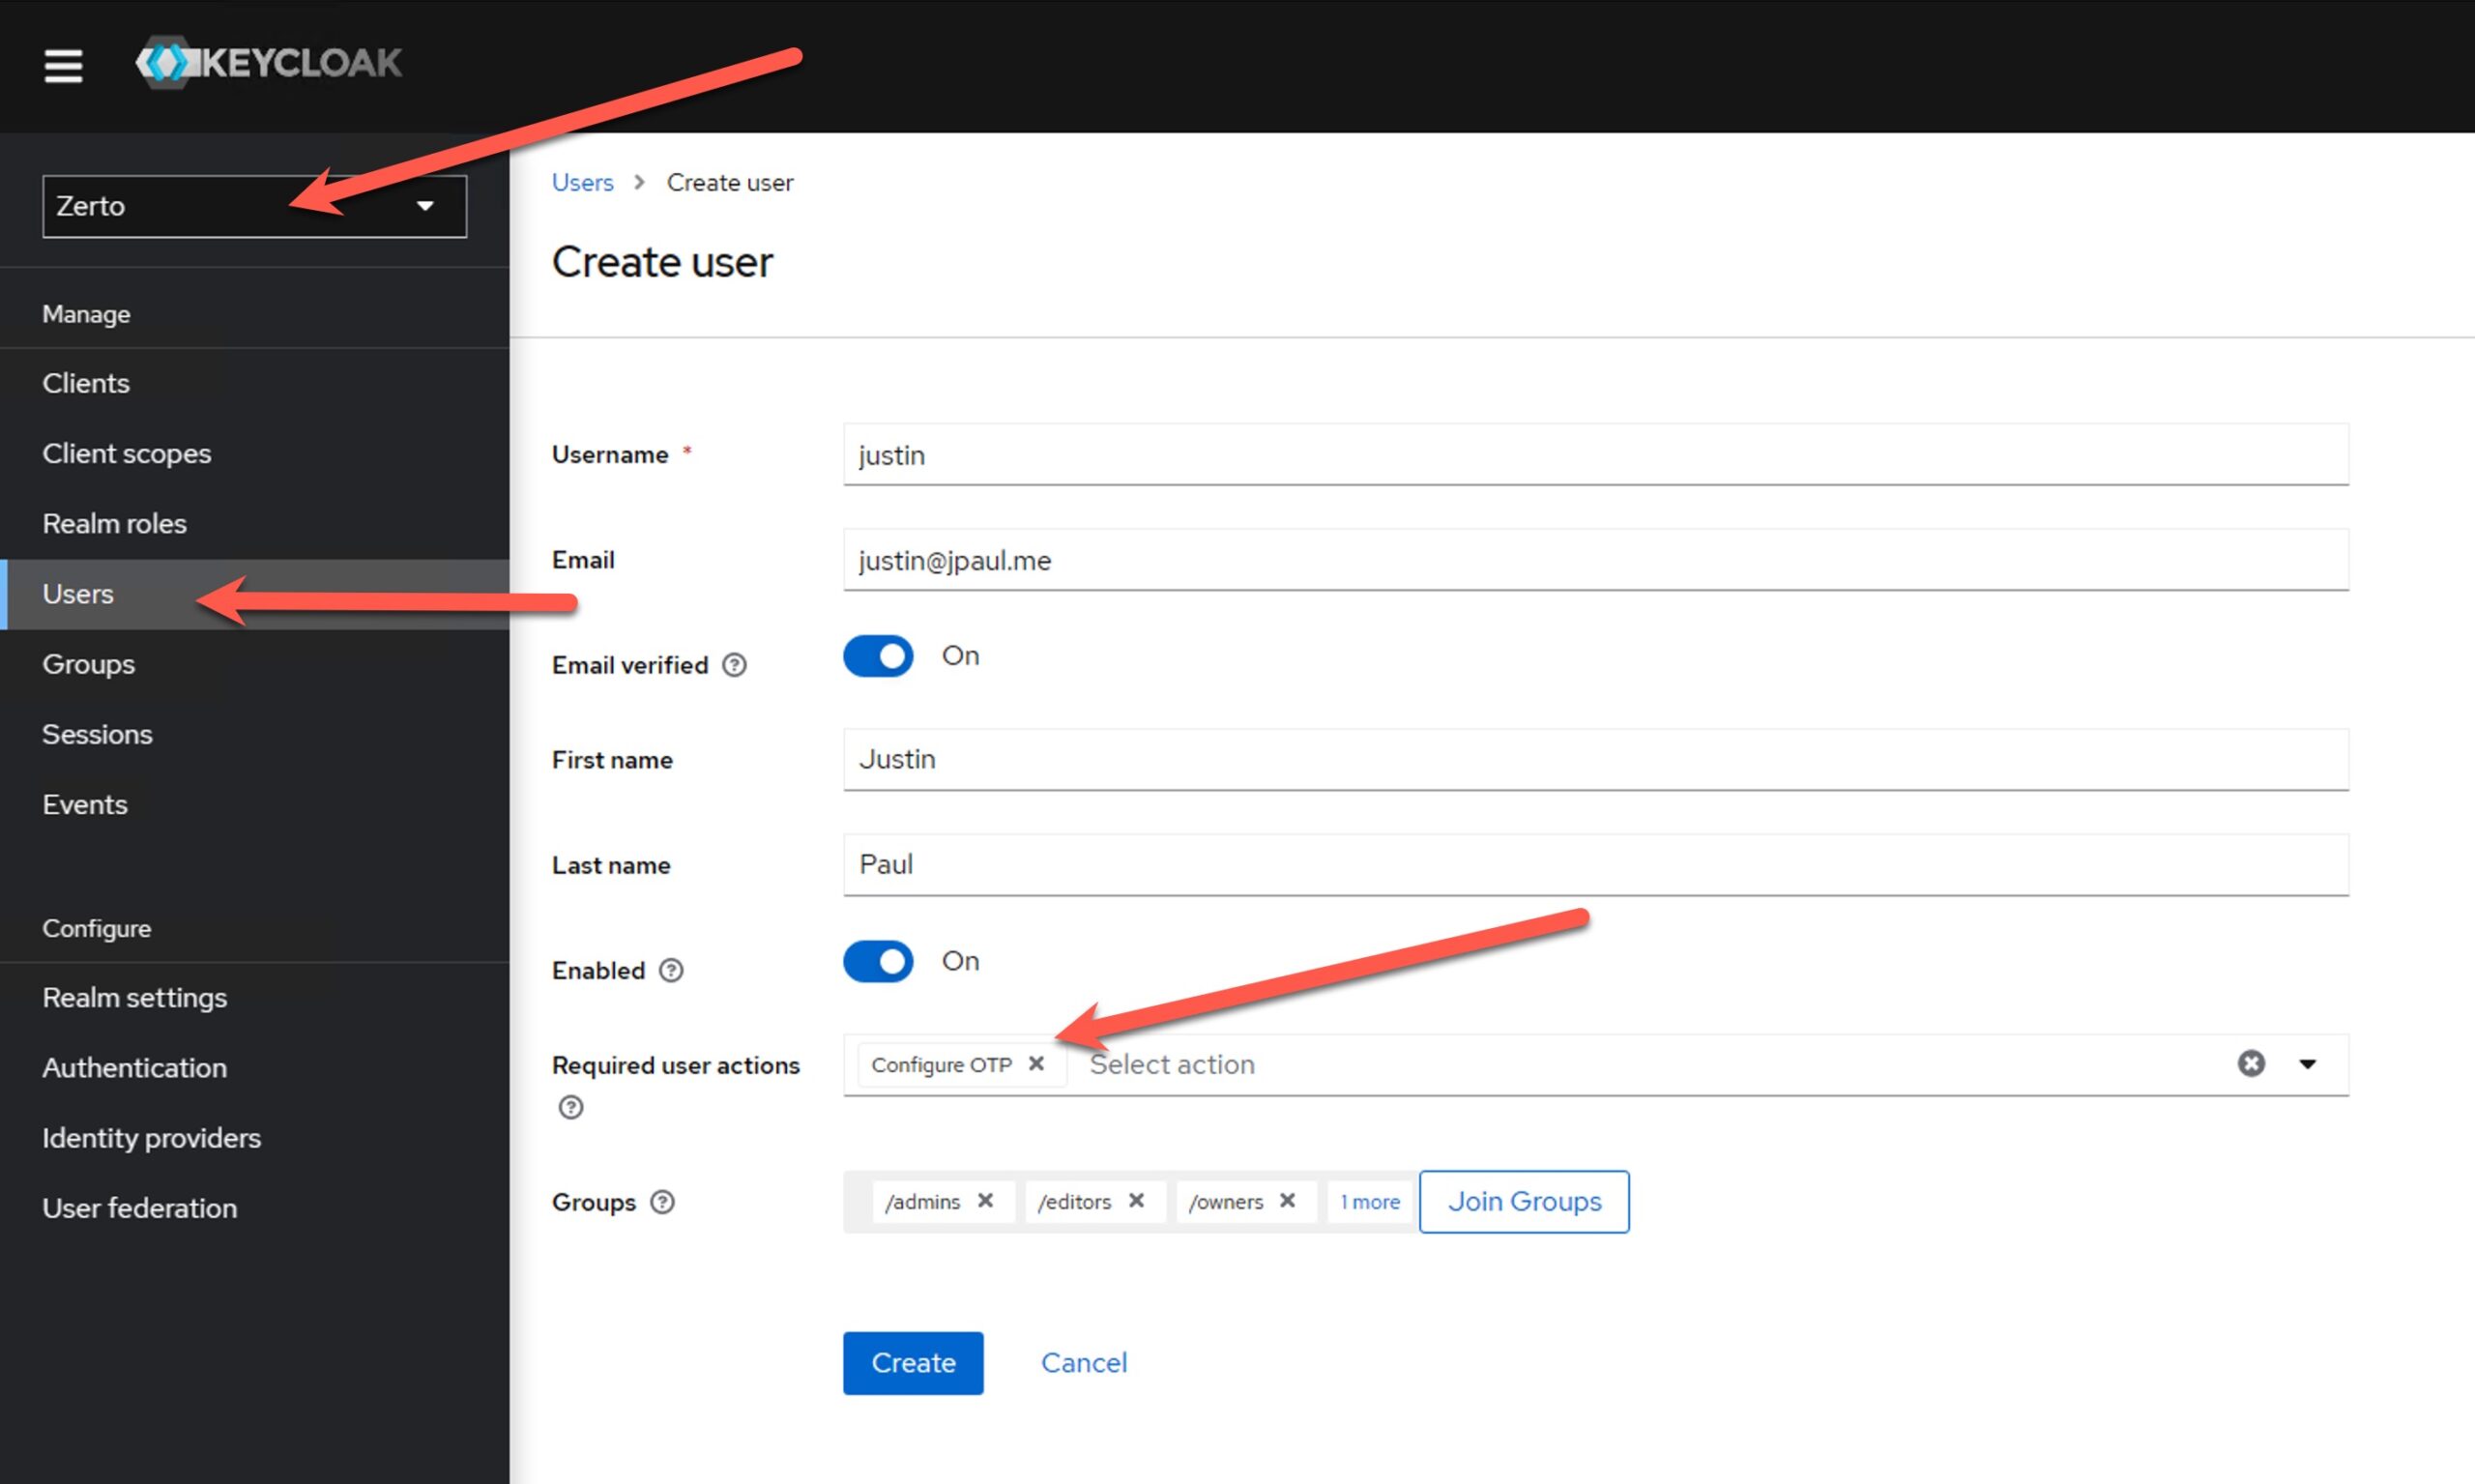
That’s it! The next time you log in with this user account you will be asked to set up your OTP application.
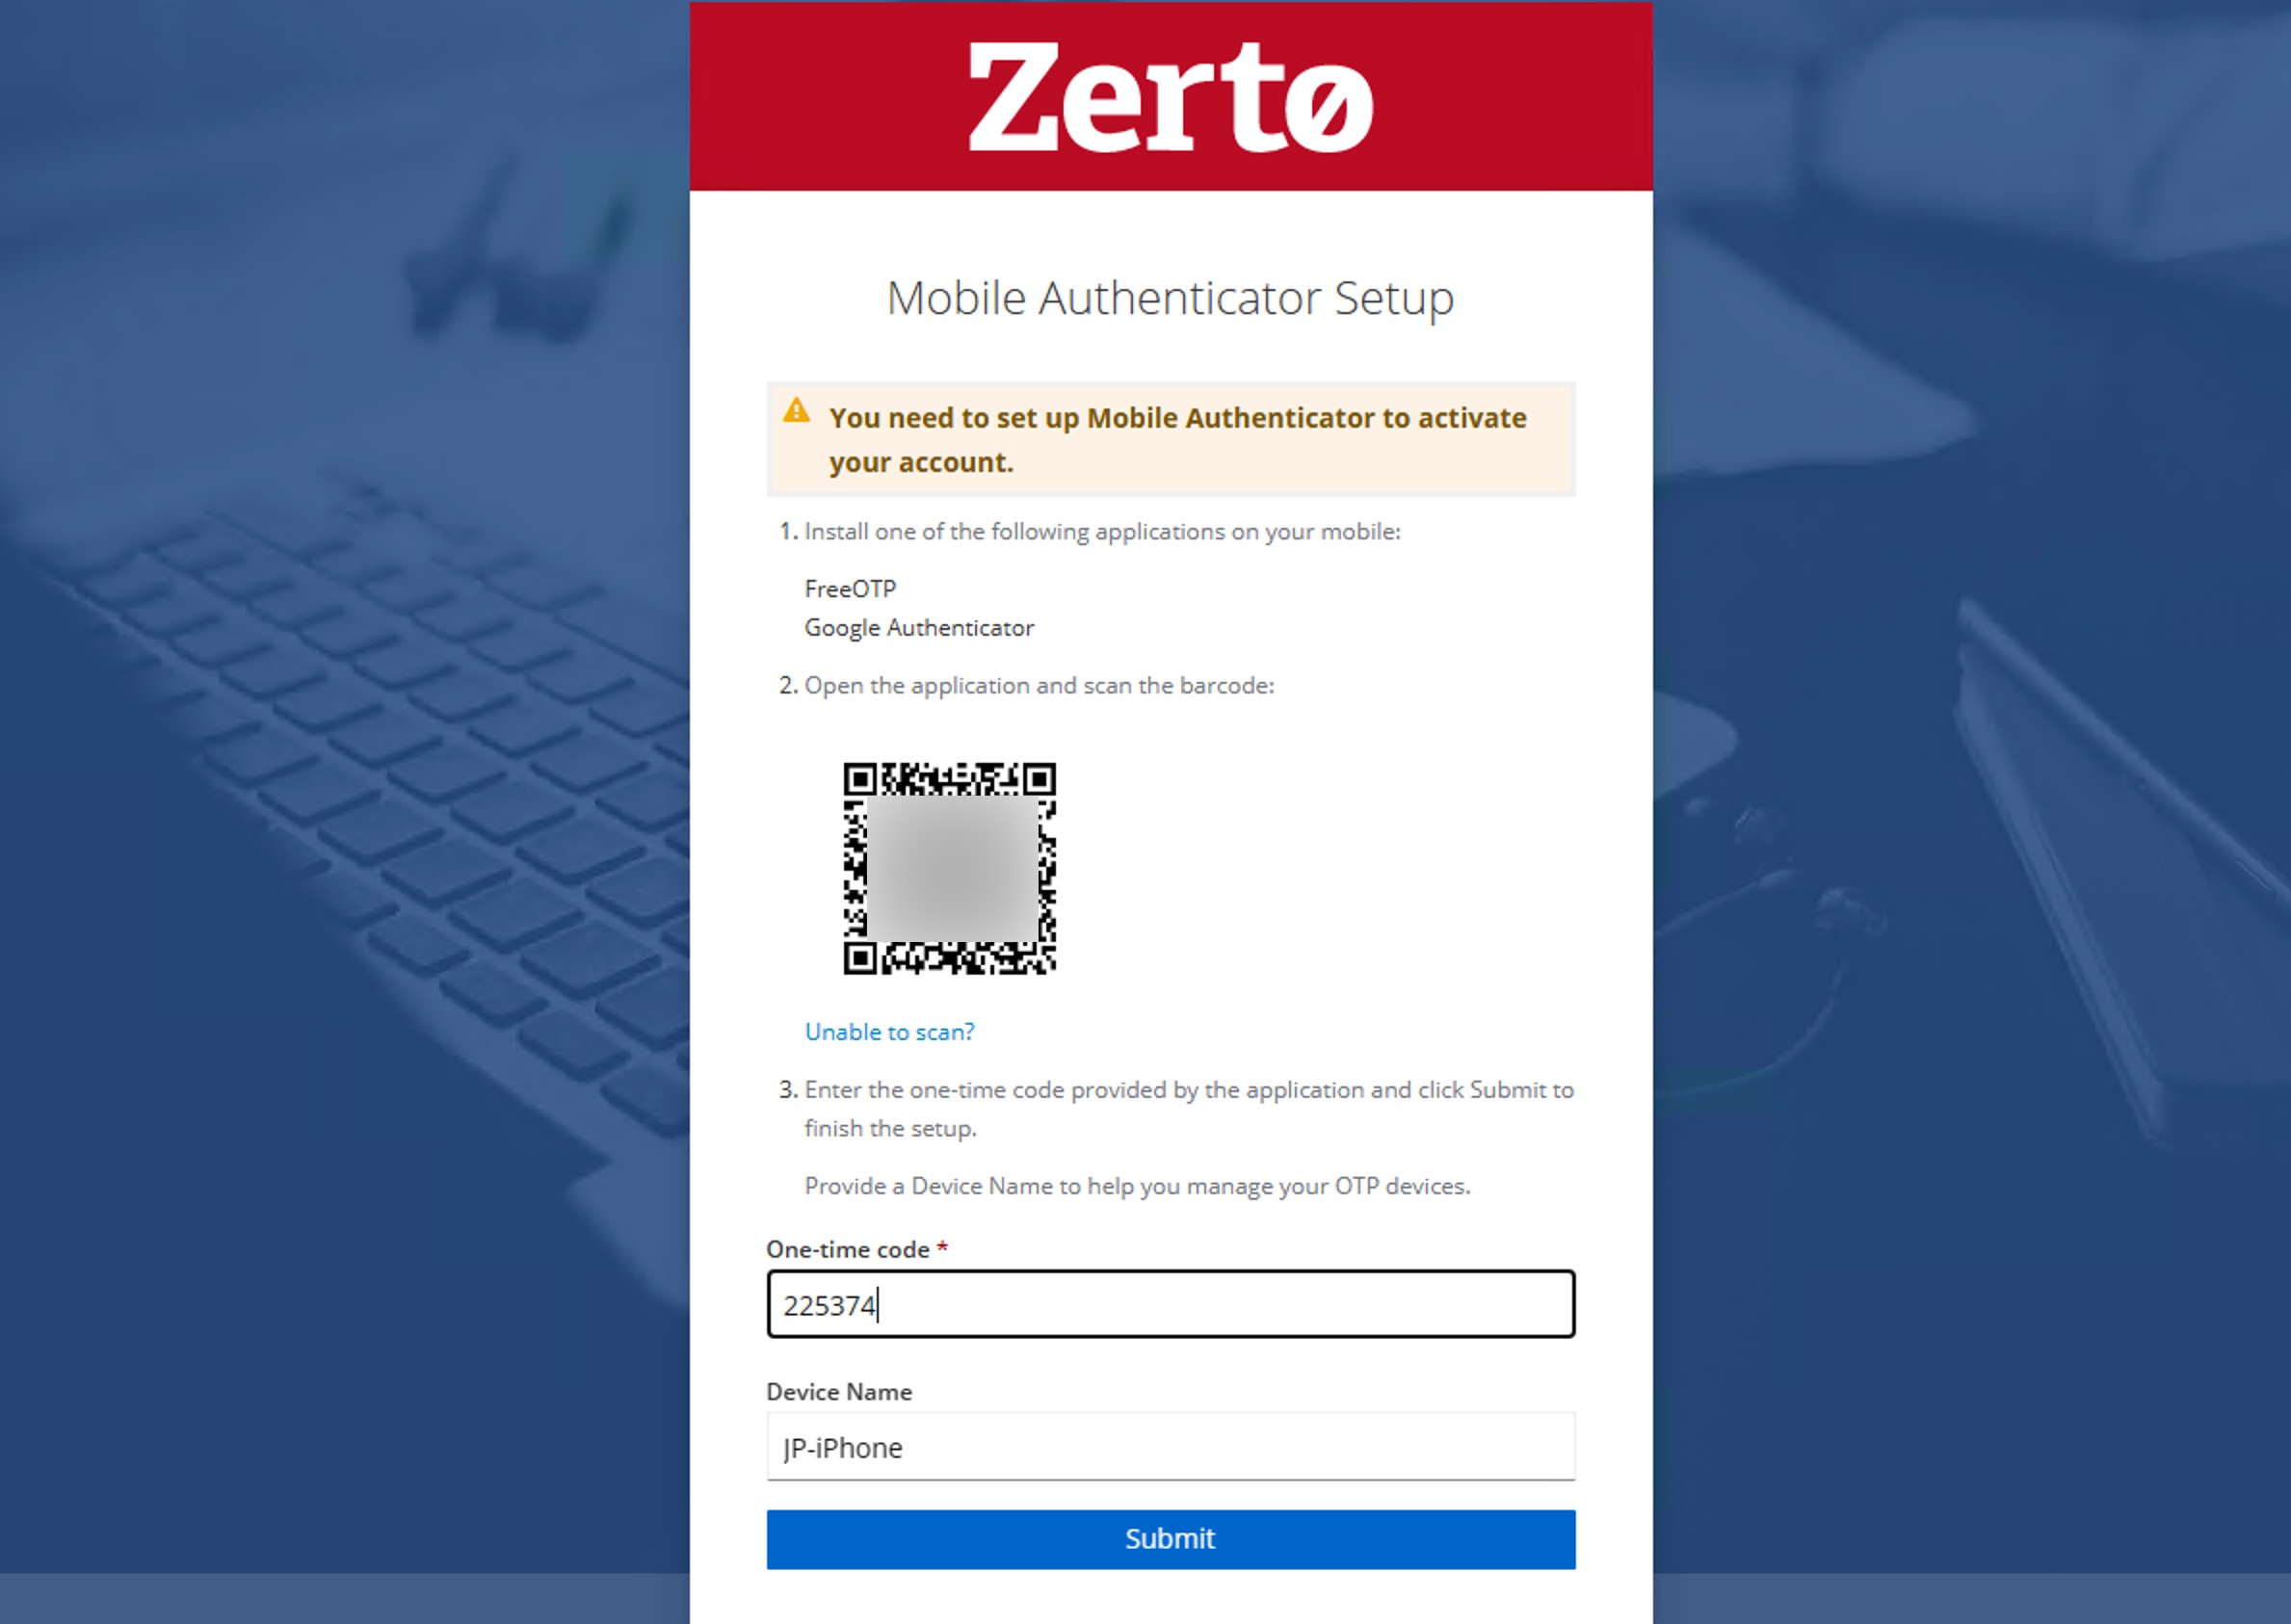
Setting up OTP on the user’s device
Chances are this process is the same as any other web-based application that uses MFA and one-time passwords.
After you have successfully logged into Zerto you will be presented with this screen. Use your mobile device and an MFA app like Google Authenticator, Okta, Duo, Authy, etc etc etc to scan the QR code.
Then enter the one-time code as well as a device name and click “Submit”.
Deleting an MFA device for a user
If a user loses their mobile device, or you need to delete the OTP device configured for any reason you can do that in Keycloak.
Navigate to the user’s account in Keycloak then click “Credentials”.
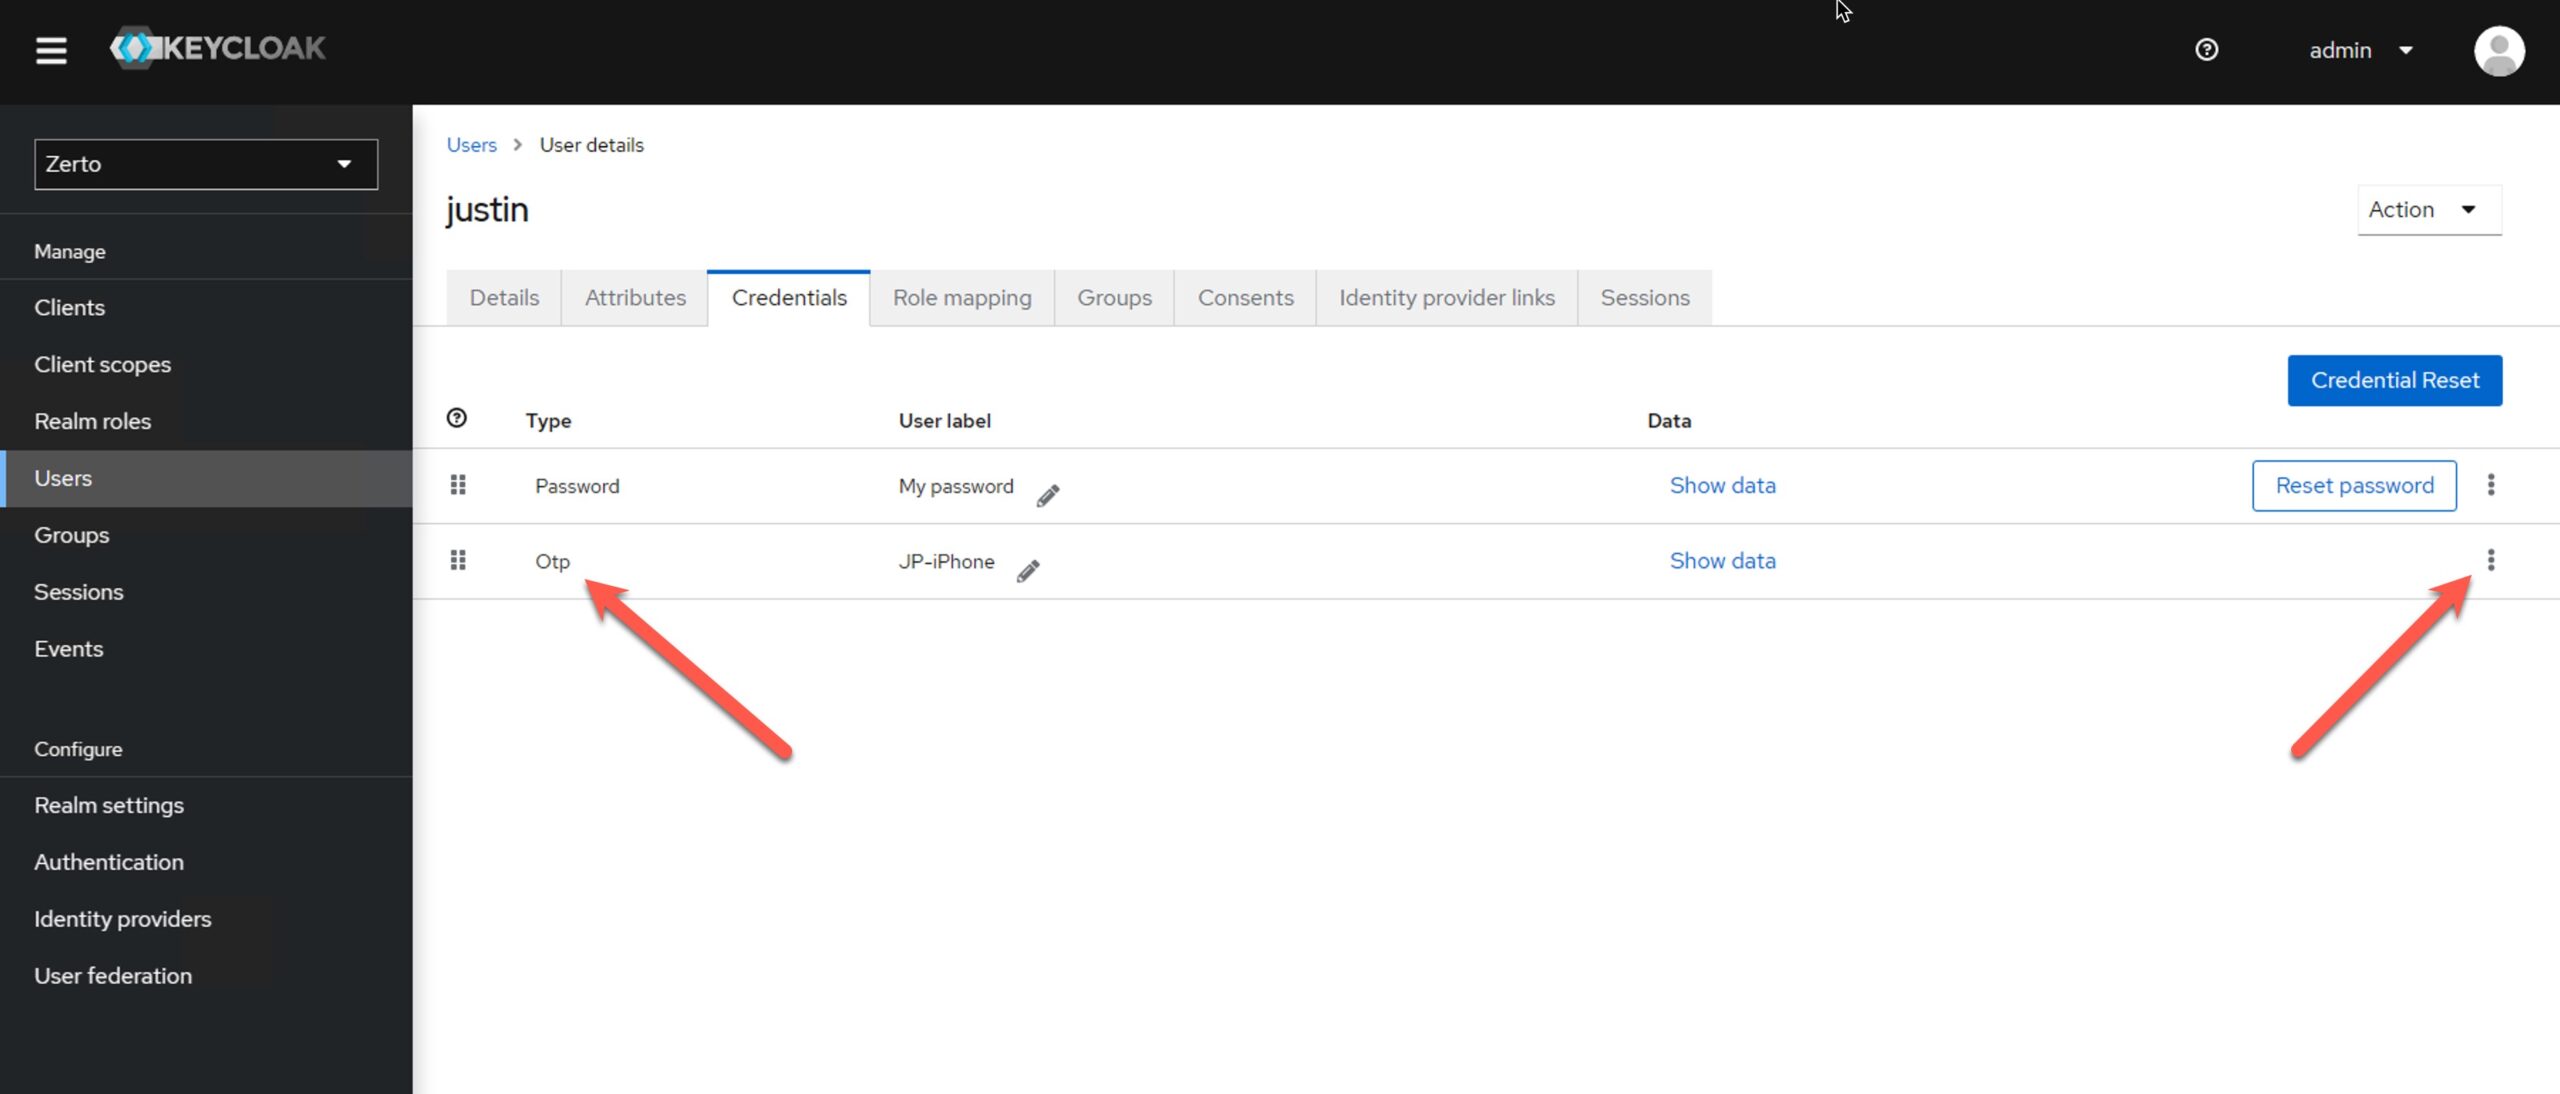
Once you are in the credentials page, find the Otp line, and click the three dots on the right side, select Delete.
If you want the user to reconfigure a new OTP device on their next login, make sure to go back to the “Details” tab and select “Configure OTP” from the Required Actions drop-down menu as you did before.
Summary
MFA certainly won’t solve all of your security challenges but it is another important layer in protecting your data. Zerto has spent many hours redesigning ZVM from the ground up to take advantage of Keycloak so that you have plenty of options to help make sure your onion has as many layers as possible.
As always if you have questions feel free to post them in the comments or reach out to me on my work email which is just my first name (dot) last name (at) hpe.com.
![]()


Will this work with Duo MFA
Dua and Okta should both be possible, but you will need to use SAML or OIDC integration.
will this impact my Powershell / API’s seeing its using MFA/OTP
Yes! but you have some options… I have a section on how to work around it in my video https://youtu.be/p_kL4W0EseM?si=wUL2BPtn4rE9qiRi&t=580