Disaster Recovery with Zerto
Lab Duration: Approximately 90 minutes
Lab Skill level: Intermediate
Overview
In this lab you will use Zerto to protect your corporate web server from possible outages at your production datacenter. You have already configured a DR datacenter with VMware but currently nothing is running there, after you pair your two sites with the Zerto management interface you will start replication of your corporate web server to the DR site. After that you will use Zerto to move your VM to your DR datacenter to simulate a planned outage at your production datacenter, and then you will do a failover to the DR datacenter to simulate what the process is during a true disaster.
Prerequisites
It is recommended that lab users have some familiarity with VMware vCloud Director, therefore Lab 0 – Intro to vCloud Director is recommended before taking any other labs. You will also need a basic understanding of VMware vSphere.
Tasks Include:
- Pairing two sites
- Delpoy Zerto Replication Appliances
- Configure protection for our corporate web server
- Preform a “move” from one datacenter to another
- Preform a “failover” from one datacenter to another
- Explore
For the best experience use a device with two monitors. Ideally you would use one screen for displaying this lab manual, and the other for the VMware View Desktop/vCloud Lab environment. If two monitors are not available, other suggestions include using an iPad or other tablet for the lab manual or working with another person and using their device for one thing and yours for the other. Printed lab manuals may be available if none of the above are possible.
Step 1 – Login and Lab Deployment
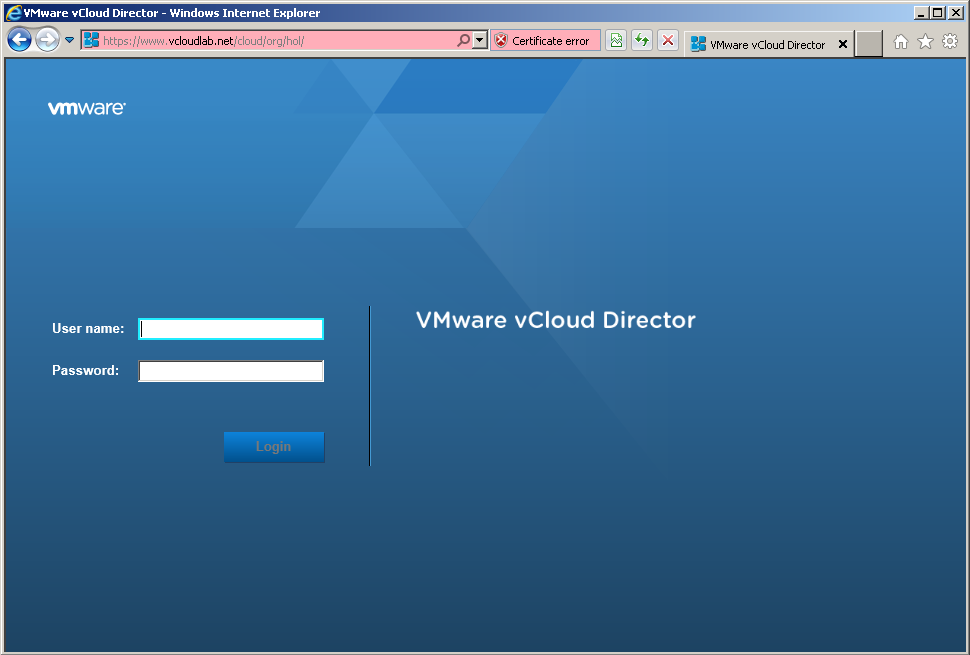
This lab will leverage VMware vCloud, in order to access the lab you will need to navigate to this URL: https://www.vcloudlab.net/cloud/org/<username>/ (your username and password was in your welcome email) Login with the username and password assigned to you or your group.
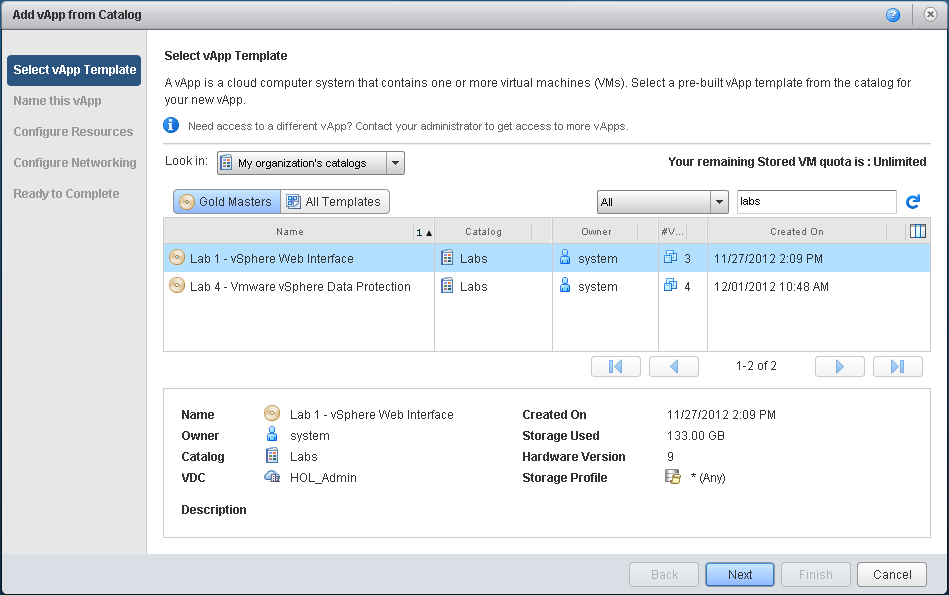
Once logged in you will need to deploy the “Lab 3 – Disaster Recovery with Zerto” vApp, to do this click on the “Add vApp from Catalog” button. Next Select “Public Catalogs” from the “Look in:” drop down menu. You should now see a list of the available labs, Select the “Lab 2 – Protecting vSphere with Veeam” lab and click “Next”. You can now name the vApp if you would like or leave it at the default. The lease settings can be left alone. Click “Finish” to deploy your lab.
vCloud Director will now deploy all of the virtual machines and networking components necessary for your lab. This process should not take more than 10 seconds. Please proceed to the next step.
Step 2 – Power Up your Lab
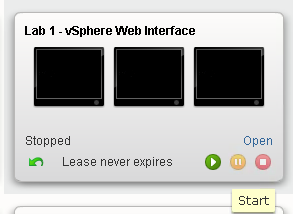
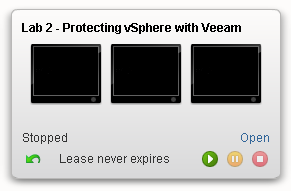
Once the lab has been provisioned it will be in a “Stopped” state, to power it up simply click the green play button on the vApp.
Because vCenter has many services to start, it will take about five minutes to fully boot up. We can review some lab info while we wait.
Step 3 – Lab Information and Setup
This lab is built on top of VMware vCloud Director. vCloud Director leverages VMware vSphere and adds a layer of abstraction so that resources can be offered to consumers through a self service interface, and without them needing knowledge of how those resources are configured on the backend.
This technology is the same thing you would get from a vCloud Powered VMware Service Provider, and can be leveraged for anything from test/dev environments to mission critical business applications.
This lab consists of several pieces: 1.) A Veeam Server – 192.168.2.10 – Credentials: administrator / vmware1 2.) 2 ESXi 5.1 Servers – 192.168.2.20 & 192.168.2.25 – Credentials: root / vmware1 3.) A test VM — this is a virtual machine running inside of one of the ESXi hosts
How the lab works
At this point your lab should be getting close to finishing its boot process, before we start let’s take a minute and explain how you will interact with your lab. The ‘VeeamServer’ virtual machine will be where we spend all of our time in this lab. Because the lab is 100% isolated, the only way to access anything in your lab is through the VeeamServer console.
Vmware vCloud Director can be accessed from a VMware View desktop, or directly from your personal machine, as the www.vcloudlab.net URL is publicly accessible. However for best video performance, using the VMware View Desktop is preferred. Check your welcome email for more information on how to access the View Desktops.
Step 4 – Opening the VeeamServer’s Console
Let’s first open up the vApp so that we can see our individual virtual machines. Click open on the vApp.
Next, click once on the VeeamServer VM, then click again on the console thumbnail. This will open the console of the VM. Click continue or accept on any SSL warnings. You may also need to allow popups in the browser.
NOTE: You will need to click “Allow” on the Remote Console plugin the first time that you open a console. It will appear at the bottom of the Internet explorer window at the same time that a popup box telling you to install it appears. YOU DO NOT need to install it, just click allow at the bottom as seen in the following screenshot.
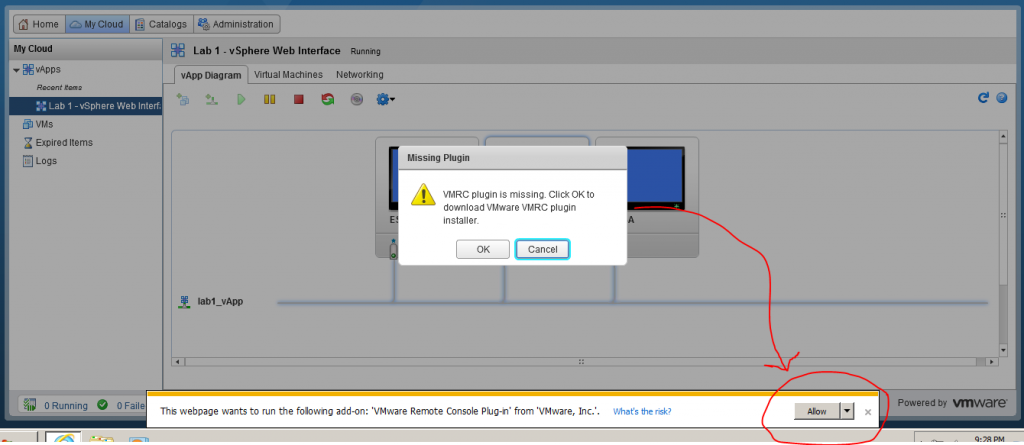 Note: it can takes 3 attempts before the console will open due to popups and allowing the “Add on” to run, this will largely depend on if you are using a view desktop or if you are using your local machine.
Step 5 – Login to the Veeam Server
At this point you have the VeeamServer console open and probably see the Windows 2008 R2 “Press CTRL ALT Delete to login” screen. The best way to do that is to use the CTRL+ALT+DEL button in the top right corner of the console window. Find and use that button and then use administrator / vmware1 to login.
![]()

