Warning: This may persuade you to buy a 3D Printer… just saying you’ve been warned LOL.
Let me start by saying all of the STL files to make this bad boy are on Thingiverse. parts that are not 3D printed are from Lowes or stuff I had laying around / salvaged from old PC’s.
Let’s start with what wasn’t working for me.
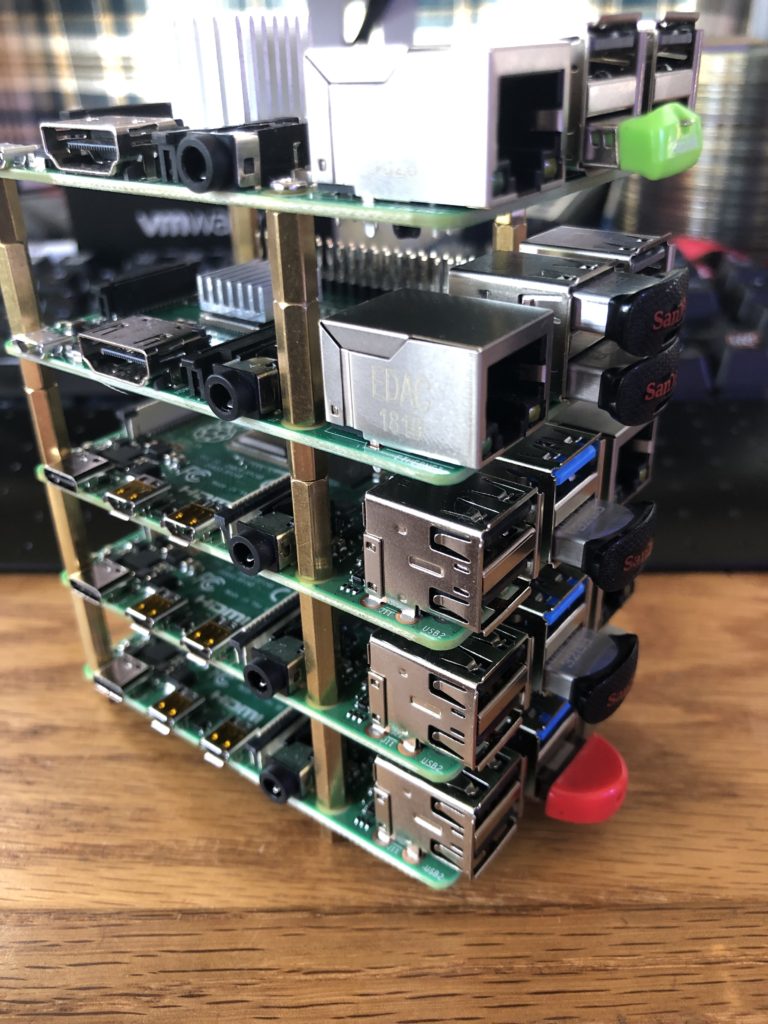
What if I wanted to remove the middle one? Shutdown all the pi’s take all the standoffs out… yea that seemed like a silly long term idea.
So I hit Thingiverse looking for cases for a bunch of pi’s. What I found was a 6″ mini rack. Obviously being an infrastructure geek I had found my winner. (search “6inch” under category to find the parts)
Let the nerd porn begin!
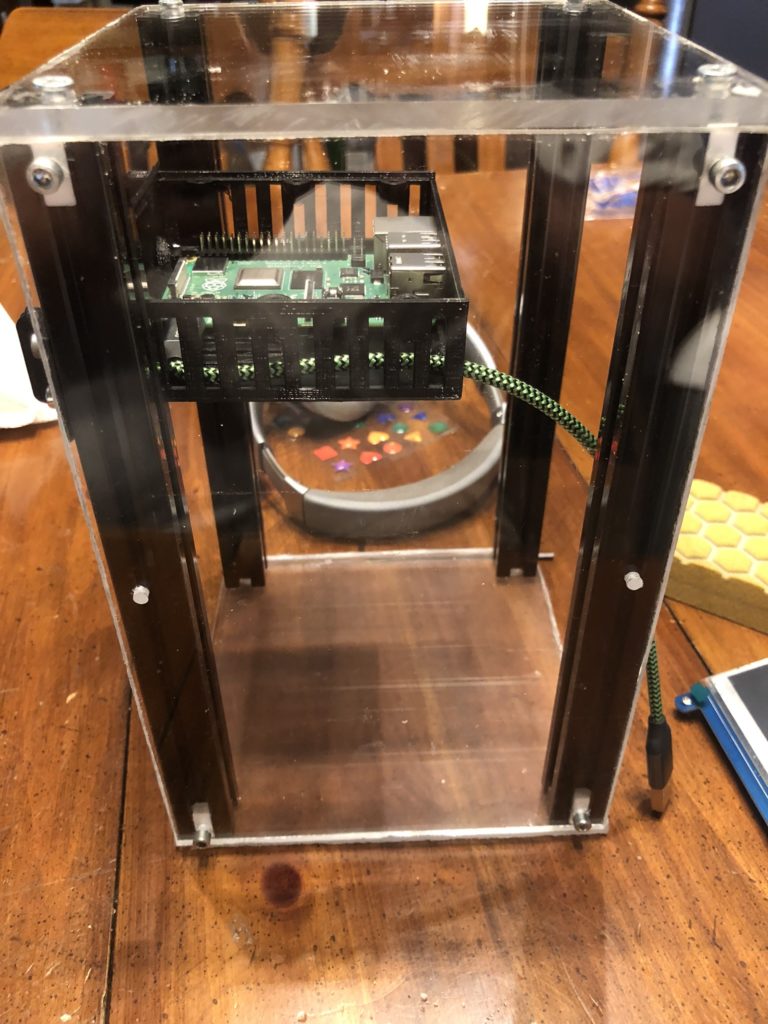
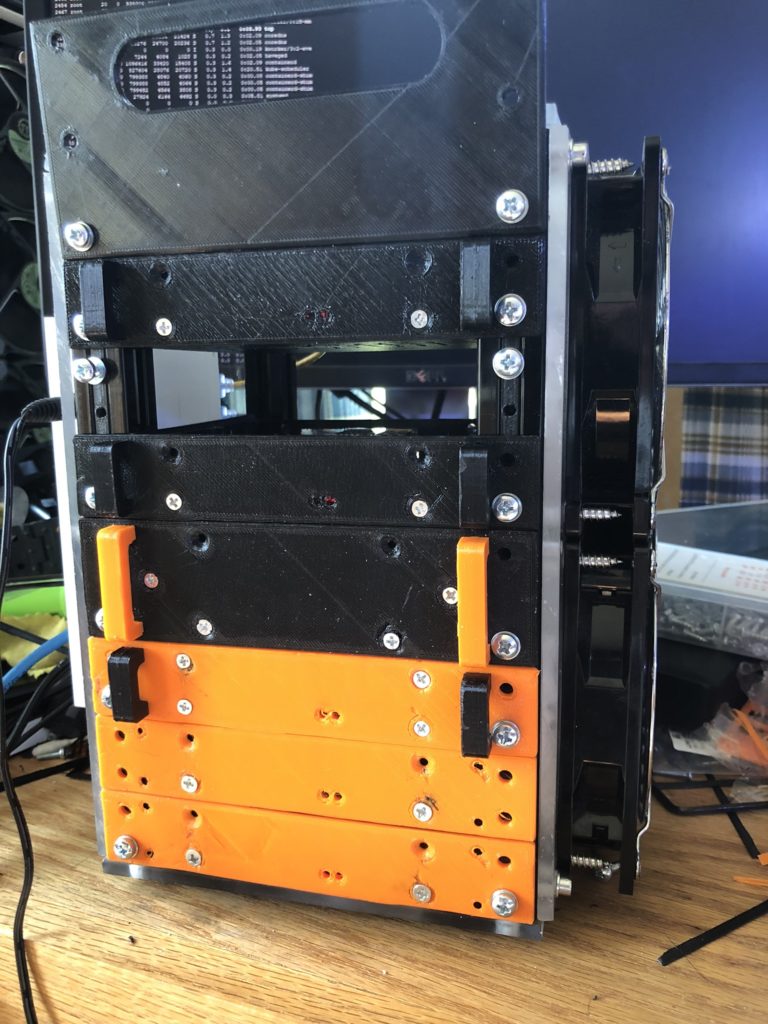
I think this thing is pretty awesome. Kinda wish I hadn’t run out of black filament, but I can always reprint more parts after I order some more PETG black.
High Res Shot Here, Here, Here, and Here
Tips for success
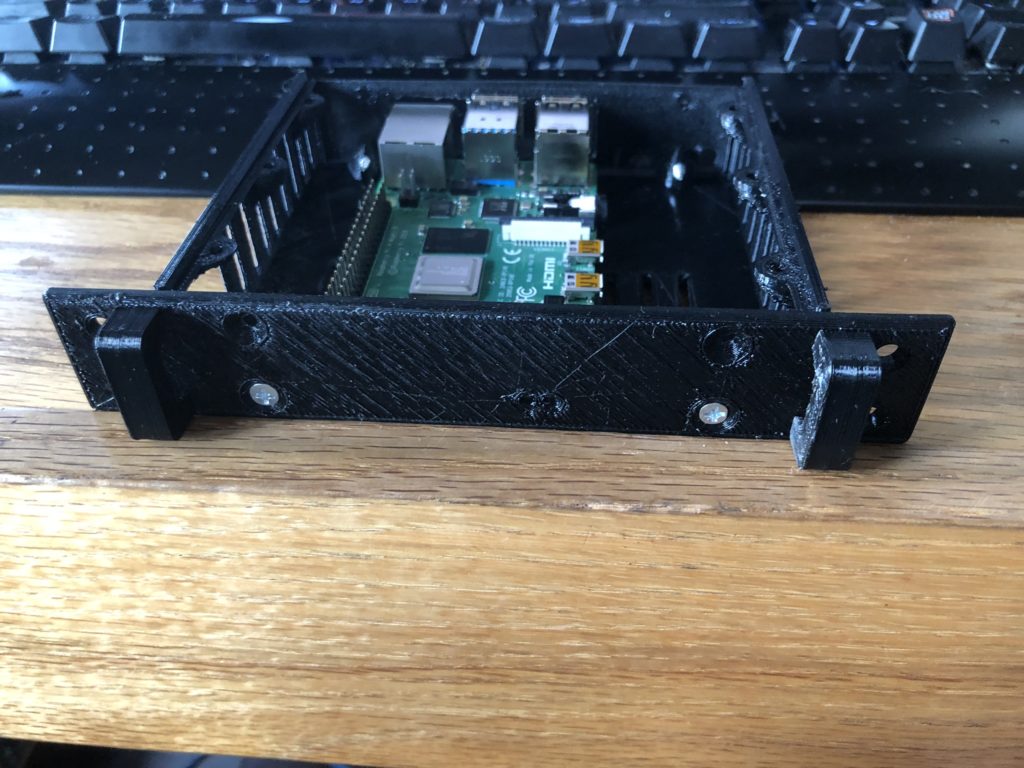
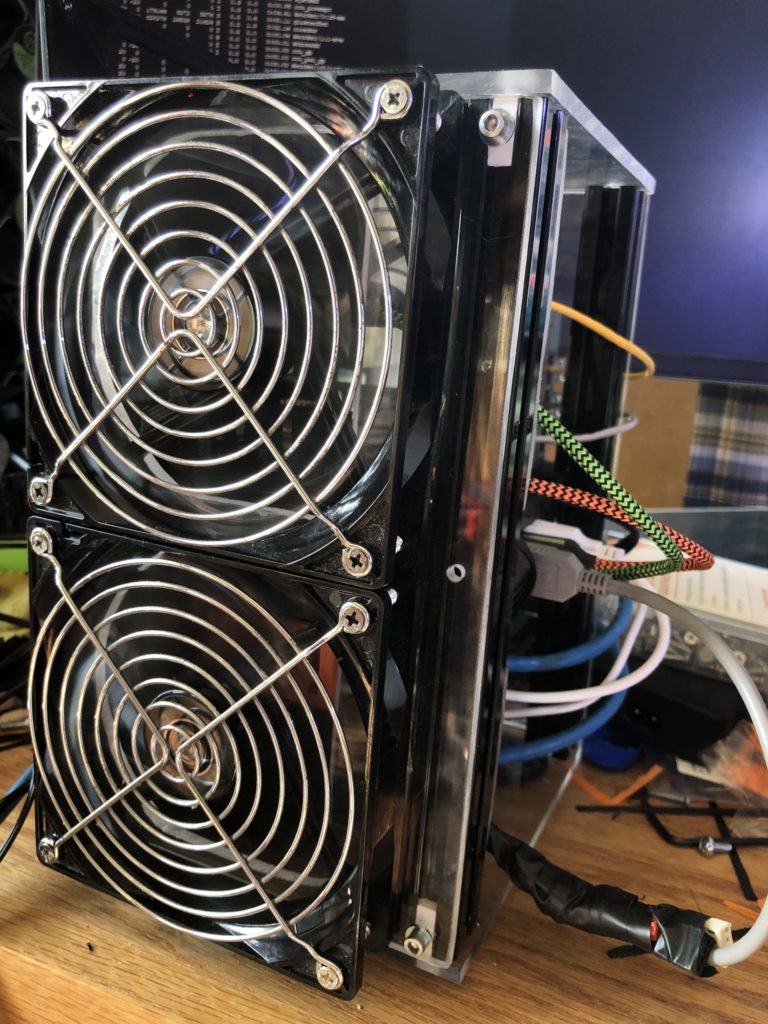
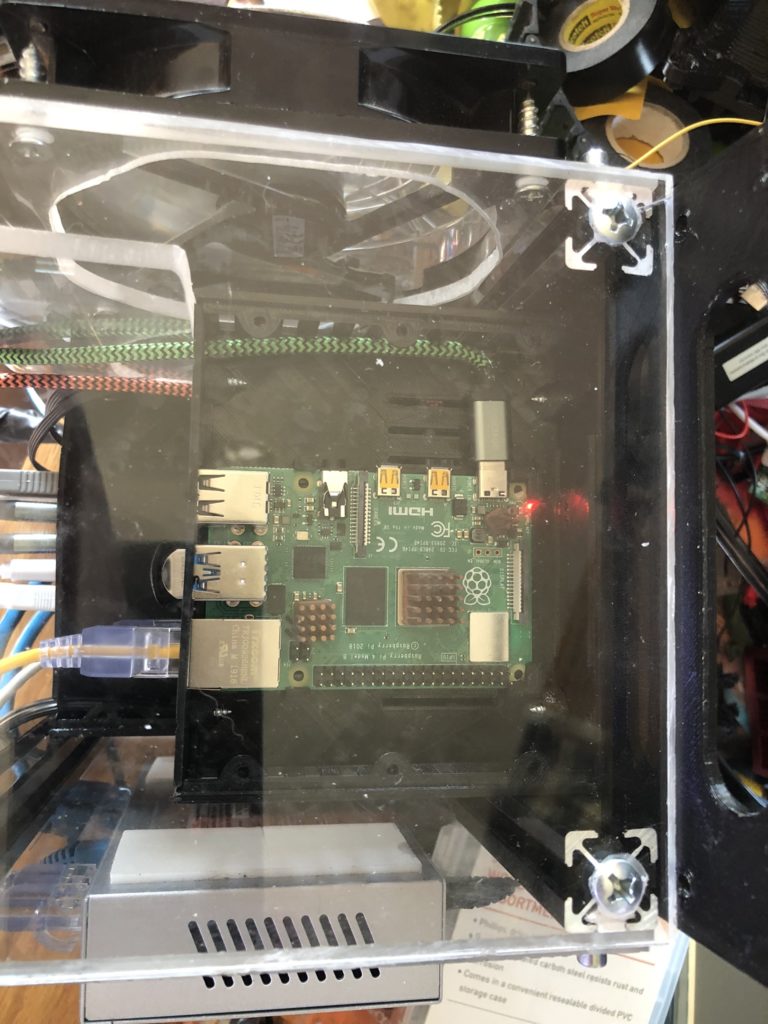
Tip 1 – The standard 6-inch rack Raspberry Pi case does not have side vents, just top, and bottom, which IMO were about useless. I was able to find another Raspberry Pi case that had side vents, so I quickly switched to that STL. With this pi case, I could mount 2x120MM fans on the right side of the rack and have them blow across the Pi’s.
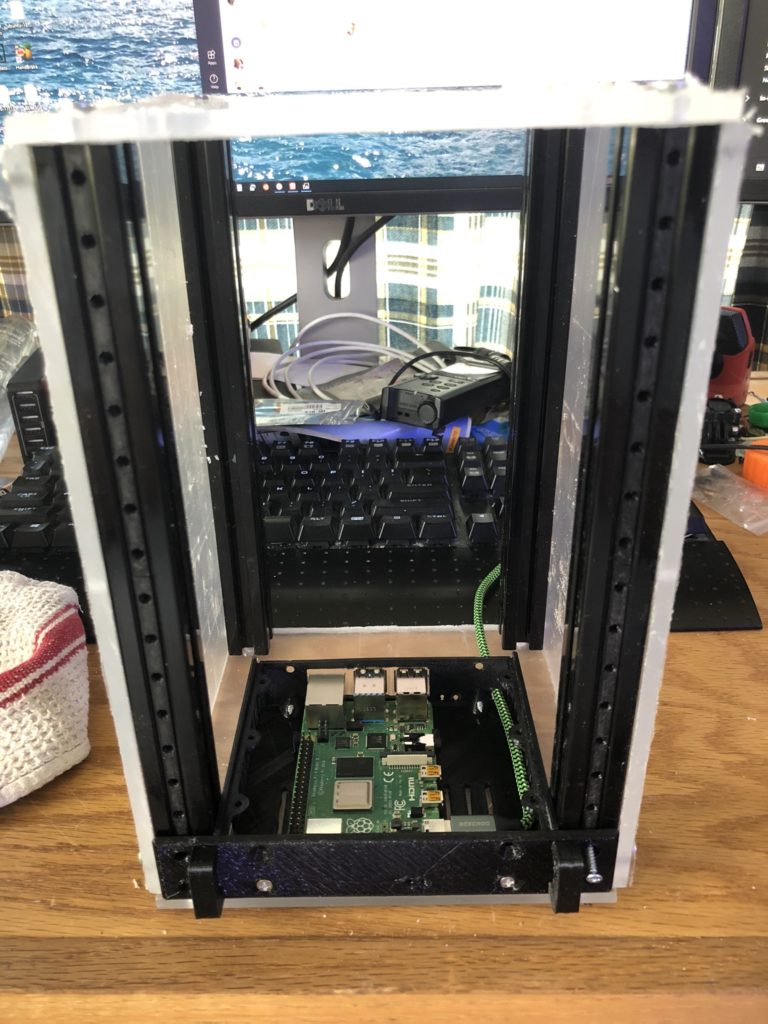
The catch is that the pi cases don’t go all the way to the back of the rack, so I cut two pieces of acrylic to bolt into the back that closes the gap between the end of the pi cases and the back of the rack. This forces all the air through the pi cases and out the left side.
I will also make sure to print enough cases to fill the rack, even if there isn’t a pi in them for now. Just to make sure the air doesn’t sneak out the front.
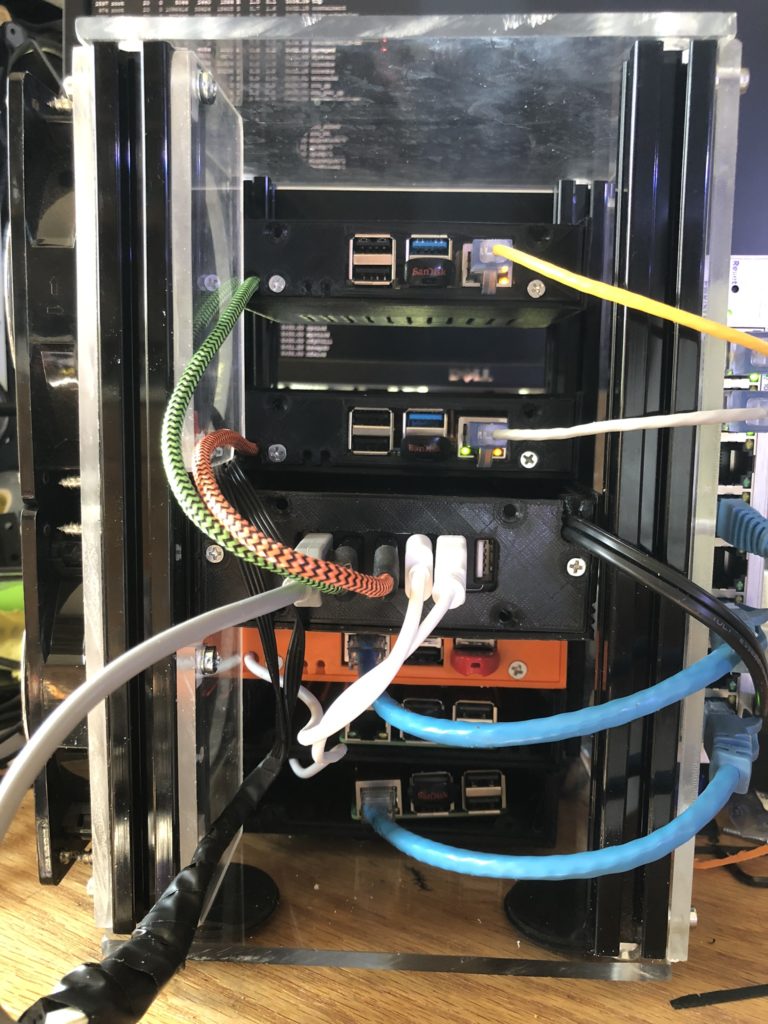
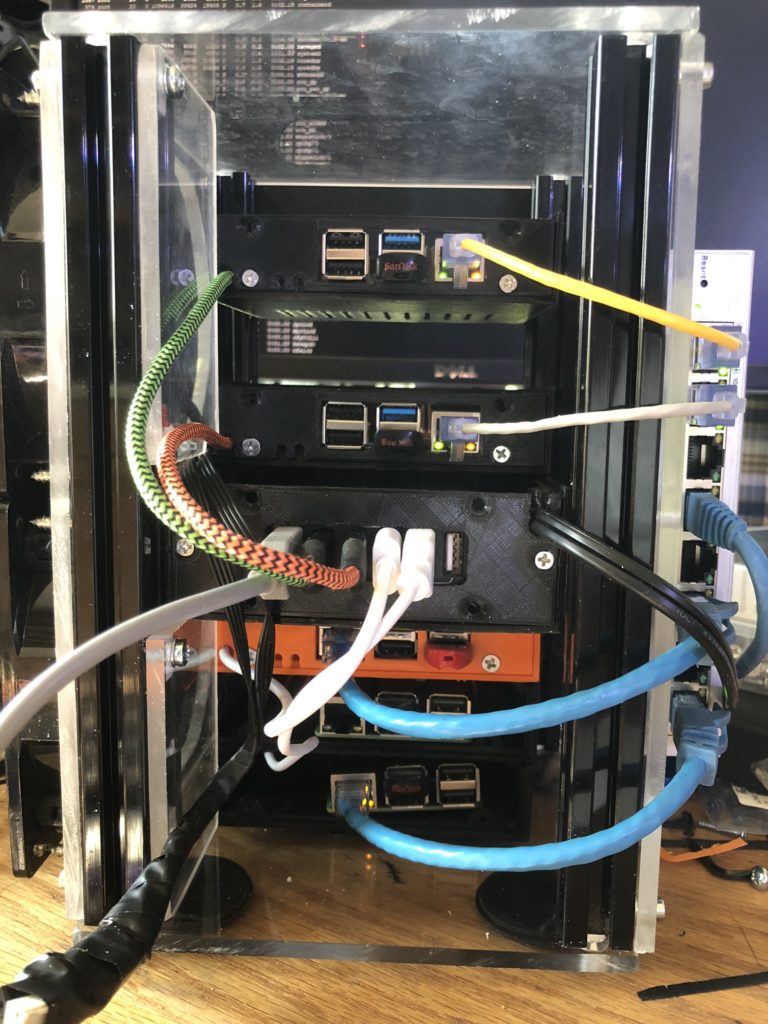
Tip 2 – Because I wanted as short of cables as possible, is to put the power supply in the middle of the rack. Doing so allowed me to use short USB cables (the kind that comes with the free trade show USB battery packs).
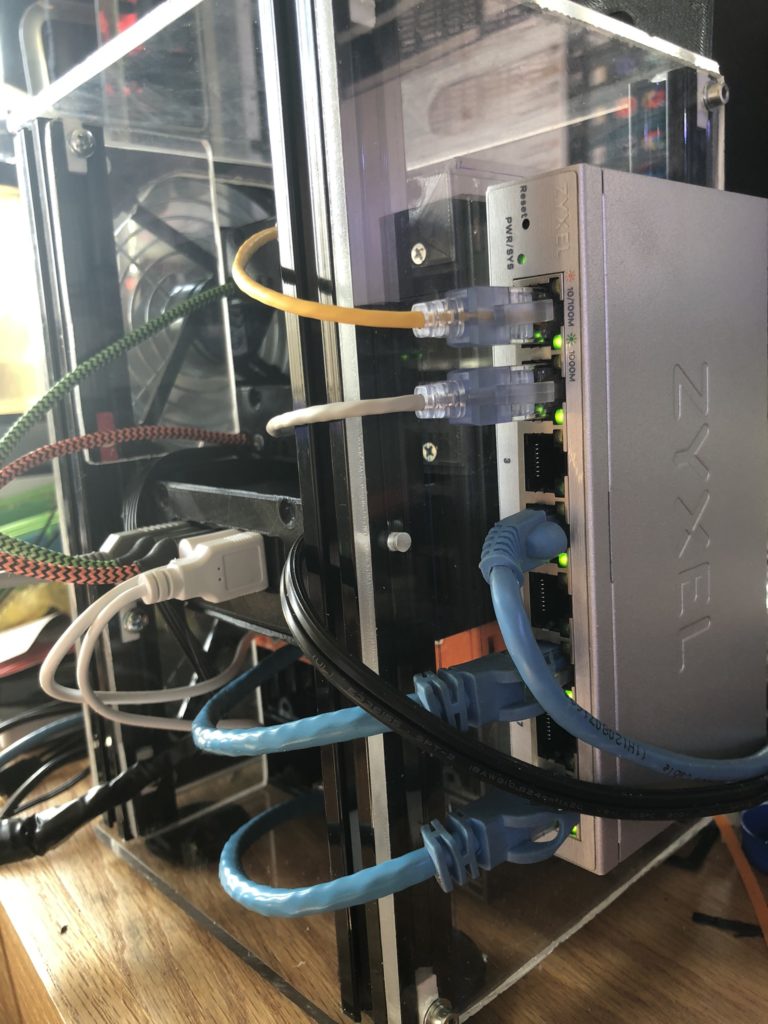
Tip 3 – Mount the switch to the side closes to the majority of your pi’s ethernet ports. I plan to swap out the Pi3’s for Pi4’s as 4GB ones are available, so I placed the switch on the left side (when you look from the front). This allows for use of 6″ ethernet cables.if you were going to run Pi3’s or Tinkerboards you might want to swap the fans and the switch around.
Tip 4 – The 20x20mm aluminum rails that form the structure of the rack are 9.5″ long in my setup. However you can make yours as long or short as you want. My were 9.5″ long by chance, so I just didn’t modify them.
Parts list (bought)
For the stuff I couldn’t print, I sourced from Amazon and Lowes.
- 3x Raspberry Pi 4’s (1x 4GB 2x 2GB)
- 2x Raspberry 3’s
- 1x Asus Tinkerboard
- Zyxel 8 Port Switch (Amazon) (separate review coming soon, this switch is managed, and has VLAN support!)
- RavPower 60w USB Power Supply (Amazon)
- Monoprice Slimrun 6″ Cat6 / 1′ Cat6 (Amazon)
- Boxeroo 1FT Short USB C Cable (Amazon)
- 4mm bolts (as well as a few nuts and washers) (Lowes)
- OPTIX 18-in x 24-in Clear Acrylic Sheet (Lowes)
- Rubber non-slip feet thingies (Lowes)
Parts list (salvaged)
- 2 x 120mm Cooler master fans (PC case)
- 12v 2A Power supply (cut and wired to 120mm Fans)
- 20x20mm aluminum bars (salvaged from an old 3d printer)
Printing the parts
This was by far the long part. Luckily my 3D printer has found it’s groove so it was pretty much a set it and forget it operation. I have a PowerSpec 3D Pro2 printer… It’s the MicroCenter version of the Flashforge Creator Pro.
I’ve been using Amazon Basics PETG filament for almost all my printing lately, and it seems to do really well. I print at 245* with a 70* bed temp. I also keep the door closed and the top on, like I am printing ABS, and I haven’t had any warping.
Print time for each pi case is about 10-11 hours or so. the other various parts only took a few hours to print. (I’m printing stuff fairly slow too)
Geek Tip: I’ve been using AstroPrint.com for a while now… just their free tier, but it works great. I honestly thought about getting rid of my 3d printer because slicing, and making sure my PC was always on was a real pain in the ass. With AstroPrint, I have an old Pi2 attached to the printer and manage everything from their web interface… It’s awesome!
But why?
This little cluster is going to be used to play around with Kubernetes and OpenFaaS. I also have it running GlusterFS so that I have persistent, shared storage on all the nodes. (The Raspberry Pi 4’s and the Tinkerboard are hosting the Gluster Data on USB sticks, and the Pi 2’s are just Gluster clients).
I’ll probably do a post or two on the workload once I mess with it some more.
Do you have a Pi Cluster?
If so what case solutions are you using?
![]()


Pingback: Geek stuff worth grabbing on #PrimeDay | Justin's IT Blog
Wuhuuwwww Thanks for sharing 🙂
Pingback: Why you should get 2 GL-AR750S routers! | Justin's IT Blog
Pingback: The Ultimate Nerd Raspberry Pi Cluster case version 2.0! | Justin's IT Blog
Pingback: The Ultimate Nerd Raspberry Pi Cluster case version 2.0! - Justin's IT Blog