One of the new features in DDOS 5.5 is SMT or Secure Multi-Tenancy, basically it just allows you to define what users have access to what MTree’s. Getting it working though is a little bit of a mystery though as there was only one document I could find on how to configure it, and checking the web gui for hints was worthless. With that said you will need need to get an SSH client from here.
What does SMT add?
SMT adds a few new things to the standard Data Domain system including
- Tenant Units (think company name)
- Tenant Administrators
- Tenant Users
- Tenant DD Boost Users
- Tenant Storage Units (MTree’s that are only readable and writable by people belonging to that tenant)
But at a really high level all you are really doing are creating users and MTree’s and using ACL’s to control who can talk to who.
Enabling SMT
By default none of the multi-tenant features are enabled on a Data Domain system, but turning them on is just a single command. Using Putty or a similar program connect to your Data domain and login with sysadmin. From there type the following command to enable SMT.
smt enable
That’s it! Now all of the SMT features are enabled and we can start using them.
Creating a Tenant
In order to write data to the system through a tenant account we need to have an MTree for the data that is part of a tenant unit as well as a user account that is also associated with that tenant unit.
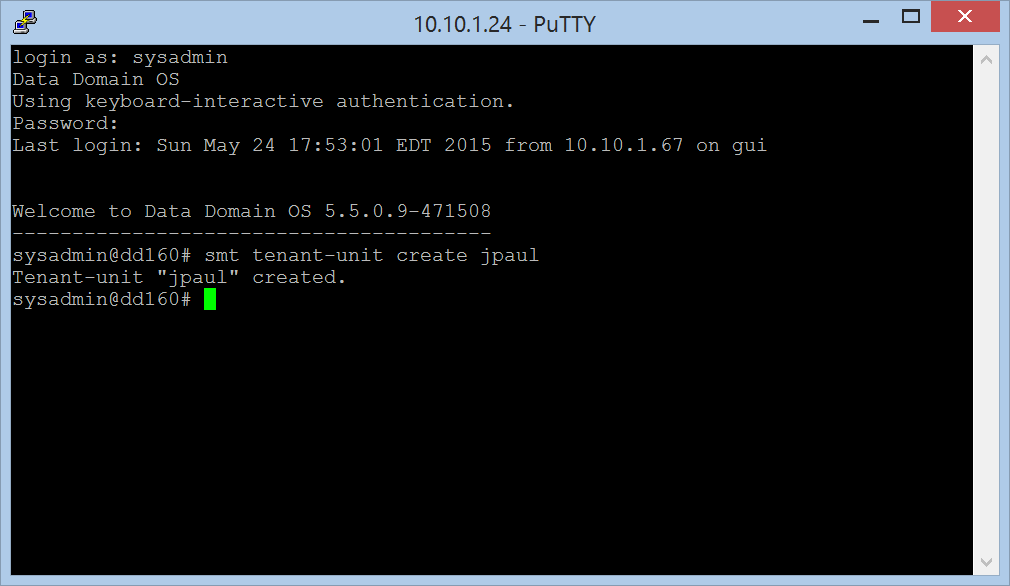
To create a tenant run the following command, but replace “jpaul” with what your tenant name is.
smt tenant-unit create jpaul
Creating Tenant Users
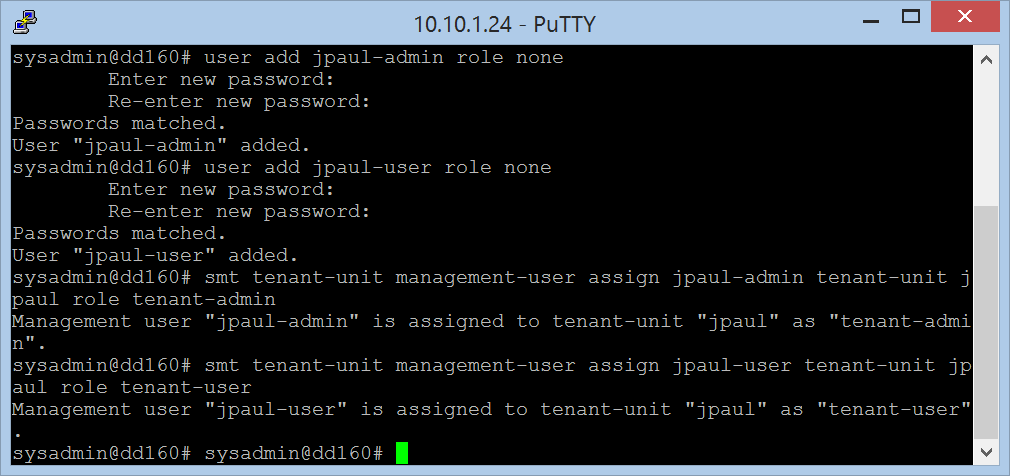
Next we need to create our tenant administrator and tenant user accounts. These are the two standard account types associated with SMT tenants. After creating the two accounts we assign them to the tenant.
Commands are (replace the bold words with stuff from your environment):
user add jpaul-admin role none
user add jpaul-user role none
smt tenant-unit management-user assign jpaul-admin tenant-unit jpaul role tenant-admin
smt tenant-unti management-user assign jpaul-user tenant-unit jpaul role tenant-user
Creating Boost User and Storage Unit
Next we need to create a tenant user account that will be used for DD Boost connections (if you don’t plan to use DD Boost I would still create a storage unit with the boost command if you are licensed for it, because you can never turn on boost, but you can turn on NFS and CIFS access later).
First create the boost user account just like before
user add jpaul-boost password password role none
Then assign the detault tenant option for the new boost user account, according to the guide I read this makes sure the boost storage unit gets assigned to the correct tenant when we create it in the next step.
ddboost user option set jpaul-boost default-tenant-unit jpaul
Now lets create a boost storage unit and assign it to the user and tenant.
ddboost storage-unit create jpaul-storage01 user jpaul-boost tenant-unit jpaul
That last command will create a storage unit called “jpaul-storage01” and assign boost user jpaul-boost to it, and it will be owned by the jpaul tenant.
Lastly EMC recommends you set the distributed segment processing option, but other than that you are done and ready to connect to your storage from your backup application.
ddboost option set distributed-segment-processing enabled
That’s all you need to do for setting up a tenant, associated users, and a storage unit.
Connecting to SMT Boost Storage
I mostly work with Veeam Backup and Replication so that is what I will walk through configuring, but any DDBoost aware backup platform like Networker, or Avamar, or Symantec should be ready to connect… just make sure to follow their best practices and use the user credentials you created above.
For Veeam the process is exactly the same as if you were connecting to a non SMT ddboost share.
More Information
All of the information I found to get this going is from the Data Domain SMT with Networker integration guide which can be found here. If you take a glance at that it also explains how to do some general reporting and stuff. Definetly a good resource… which is good since it was the only thing I could find.
![]()


