I remember a LOOONG time ago, I asked my friend Nate why he wanted to spend a bunch of money on a 100Mbps switch (at the time I had a 10Mbps switch and it worked great). To me it just didn’t seem worth the money. That was probably around 1998-2000 ish, when we were in high school. Fast forward almost 20 years and I find myself installing 10Gbps switching in my home lab. Needless to say I’m starting to feel old… probably like those really old guys that talk about their Atari 2600’s and original Apple stuff.
My home lab has had a lot of different equipment in it over the years, so before we get to the 10 gig upgrade, let’s review what it looks like most recently before the 10gig upgrades.
Existing Home Lab Setup
- HP BladeSystem c3000 Chassis with
- 2 – Cisco MDS-9124e Fiber Channel Interconnect Modules
- 2 – HP 1 Gbps ethernet pass through modules
- 6 – Hp Cooling Fans
- 5 – Hp PSU modules
- 1 – Onboard Administrator Module
- EMC VNX 5300 Fiber Channel SAN (running block only)
- 25 – 600GB 15k SAS (4 valut drives + 1 HS + 20 data disks)
- 5 – 100 GB Flash drives (Fast Cache)
- Extra disks (both SAS and NLSAS) not currently attached
- Synology DiskStation 212j
- 2 – 3TB 7200rpm WD Red disks (mainly media storage for the family and some ISOs)
- Cisco 3750G 24 port gigabit switch
- 3com 24 port gigabit switch
- Liebert GXT2-2000 UPS
- Liebert Mini Computer Room Rack (with Cooling module)
This setup has worked pretty well. The only downside is that as things like VSAN and multi-cpu fault tolerance hit the market my lab becomes less and less capable of running them with real world performance. Things have been pretty darn quick (because storage is 8Gbps Fiber Channel), but these 10 gig upgrades take things to the next level.
Changes to integrate 10 gig Networking
The blades that I have (HP BL460c G6 + BL490c G6) are all 10 gig ready, meaning they have 10 gig cards on-board. The 1 gig limitation was imposed because of the 1 gig pass through modules in the chassis. I didn’t purchase a 10 gig Virtual Connect module last year because they were going for about $1000 dollars each. Recently, however, I checked again and was able to get a Virtual Connect Flex-10 module for less than $200!
This means 10Gbps between blades and a multi-gigabit up-link to my Cisco 3750 switch. But now seemed like as good of time as any to go ahead and upgrade my switch infrastructure too.
Enter Cisco Nexus 5010!
The Cisco Nexus 5000 series is a native 10 gig switch with all sorts of other awesome technology built in. The only missing feature when compared to my Cisco 3750 is Layer 3 routing. But with NSX and other software L3 routing technologies this should not be a problem. Worst case I can just leave the 3750 attached to the network to do routing. But in all reality I really only use routing between 3 subnets, and again it could easily be replaced by NSX.
If I wanted to spend a little more cash (probably about 1200$ instead of 500$) I would have went with a Nexus 3064 which has L3 built in. The downside to the 3064 is there is no support for 2k fabric extenders or fiber channel switching.
Connecting it all together
Connectivity between components will be achieved the cheapest way possible 🙂 … TwinAx cables.
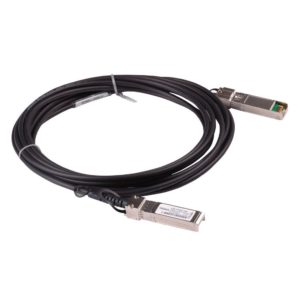
TwinAx cables allow me to avoid buying SFP modules from specific hardware vendors. Instead, they are cables that have SFP modules soldered right to the end of the cable. Allowing me to connect right from the Flex-10 modules to the Nexus and from the Nexus right to a NIC inside of any rackmount servers.
For connectivity to my home router (Cisco 2851) or back over to the Cisco 3750 I will need to get some 1Gbps Cisco SFP modules as the 5010 supports 8 – 1Gbps SFP’s. So what I have setup is a 4x1Gbps ether-channel from the Nexus 5010 to the Cisco 3750G, which is in turn connected to the default gateway. (So essentially the 5010 is my “top of rack” switch, the Cisco 3750 is my “Core Switch” with extra 1Gbps ports. If I start using NSX or something similar for all my inter-vlan routing I will probably swap out the 3750G and the 3com switches with a single Nexus 2k 48 port fabric extender.
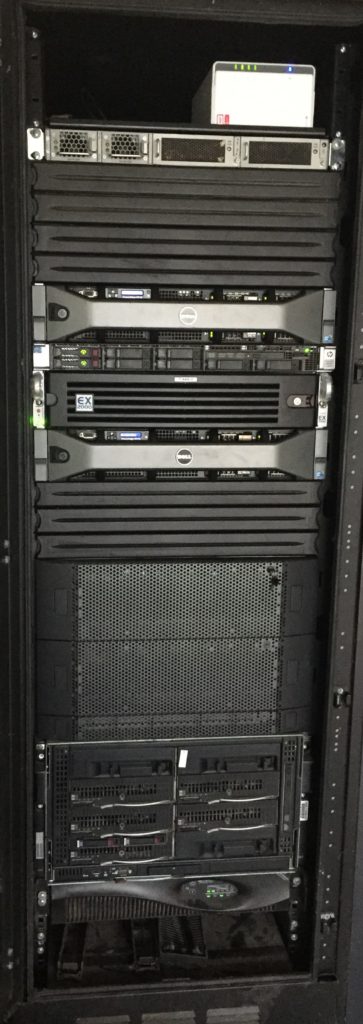
What it all looks like
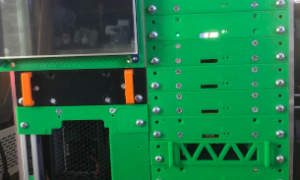
I moved a lot of gear around so that I could get everything in to one rack. I didn’t want the VNX in its own rack anymore because I would like to get that rack out of my garage. To make that a reality, I moved the DPE and DAE’s that were in use to my Liebert MCR. The one part that had to go was the standard desktop monitor. In its absence I am looking for a 1u kvm module that can sit above the VNX.
Some other additions
I’ve had a couple dell r710’s in the lab for a while. They have served many purposes, and now they have a new purpose… dedicated Zerto labs. One has a nested lab for me to demo Zerto to customers, and the other has a nested environment for partners and end users who don’t have POC gear. This gives them a chance to kick the tires and create VM’s and such without going through any approvals process of putting things into their production environment. So if you would like to try out Zerto let me know and I will get you access to the public lab environment that I have.
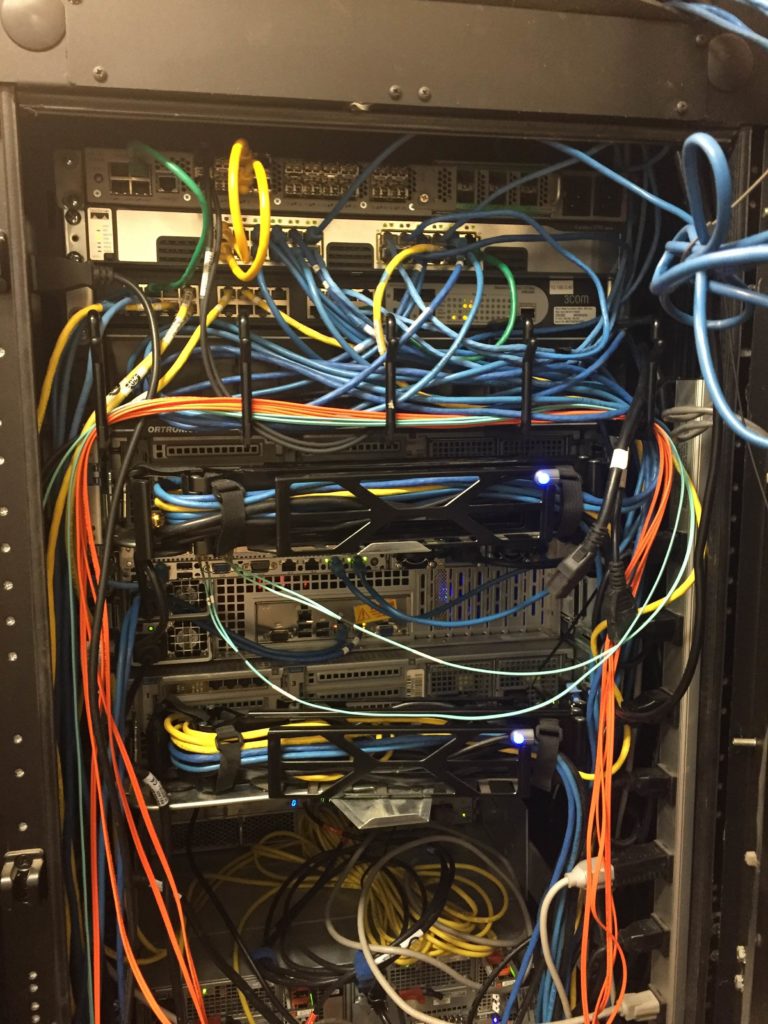
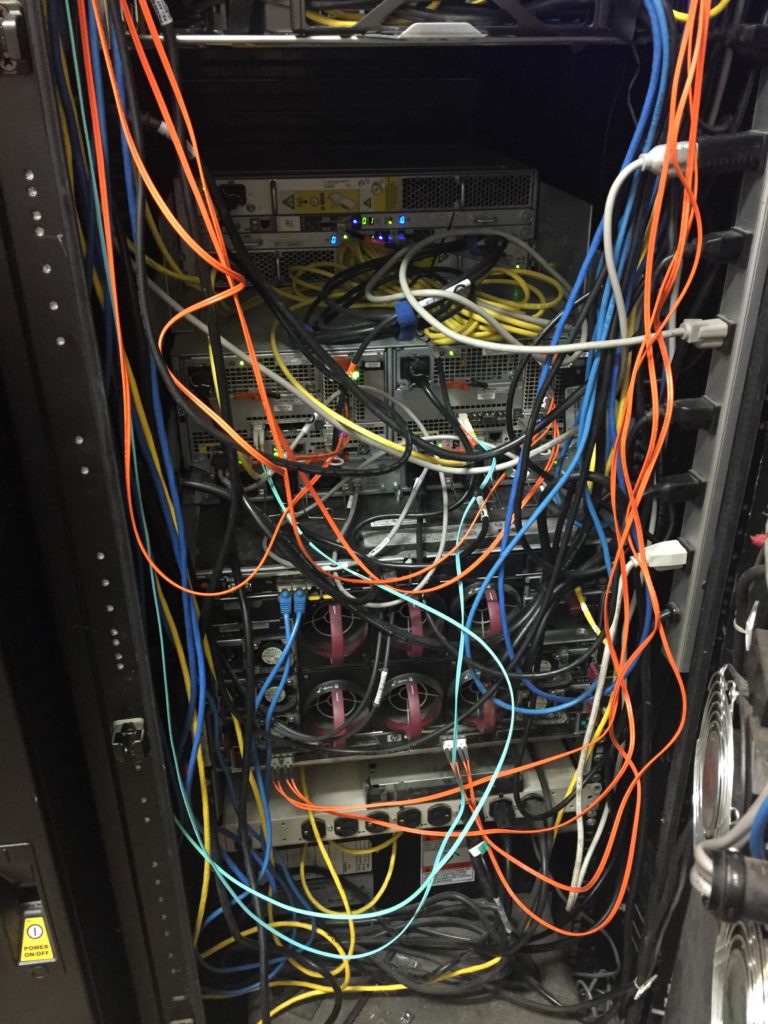
The Rats Nest
![]()



Cool setup, but I would be scared to look at your power bill.
It’s not too bad LOL I dont run the blade chassis or the SAN unless im testing something. The only gear thats on all the time is my 3750G and 3com switch along with a couple of rack mount servers.