It has been a few years since my first look at CloudBerry Backup. Back then it was called CloudBerry Online Backup, it’s now called Windows Desktop Cloud Backup. (Server backup is similar but a separate product.)
To bring you up to speed, I’ve been using CloudBerry Backup Desktop Edition to protect my desktop for over 3 months. I initially downloaded the free version, but when I was asked to do a review, I received a license key to enable to paid version features. (which, by the way, is the only perk I have received from CloudBerry)
Product architecture
CloudBerry Backup is much like any other backup product from an architectural standpoint. Which is great because it makes it really simple to get running.
It has Backup Jobs which can be file or block base. Recovery Jobs, which can be individual files, entire filesystems (ie many files and folders), or entire volumes.
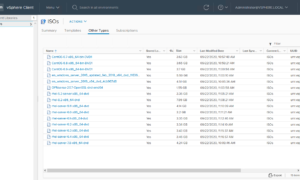
It also has a variety of backup targets…
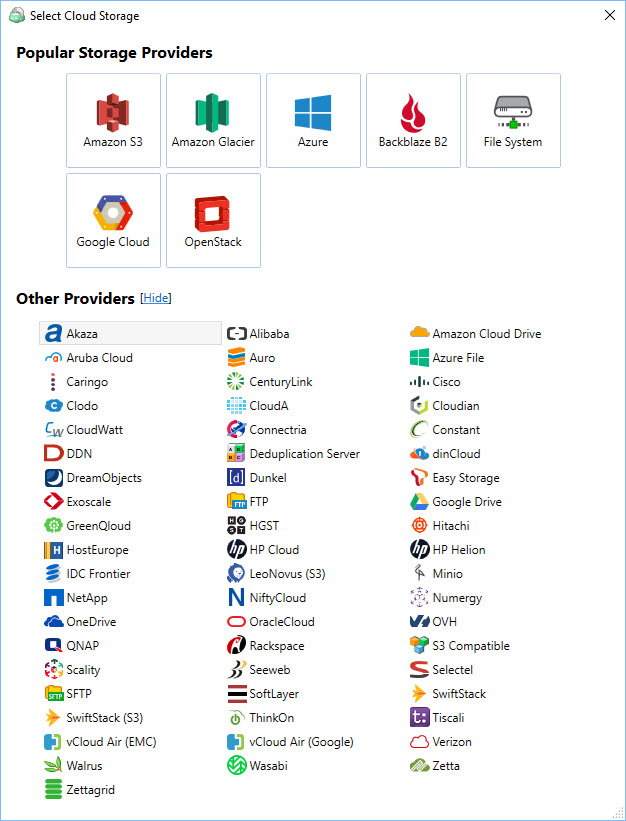
I challenge you to find some type of backup storage that CB Desktop Edition doesn’t support! (HAHA Seriously, what is Dunkel? I totally thought that was just great German beer!)
Once you figure out where you want to send your backups step 1 is to create a Backup Storage entry. I choose Azure Blob storage because I am familiar with Azure, and already had an account created.
Create a Backup Storage Location
Creating a storage location is pretty easy, as everything is wizard driven. As I said before I will be using Azure, so from the Welcome tab I needed to click the plus icon beside of “Storage Accounts”.
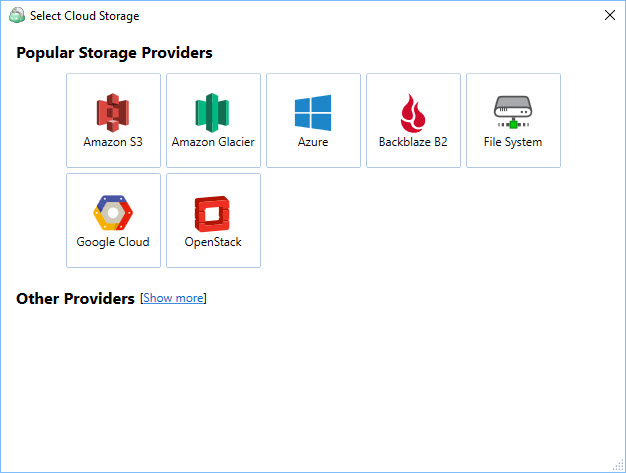
After selecting Azure you will be presented with the Azure parameters required to create a backup storage location.
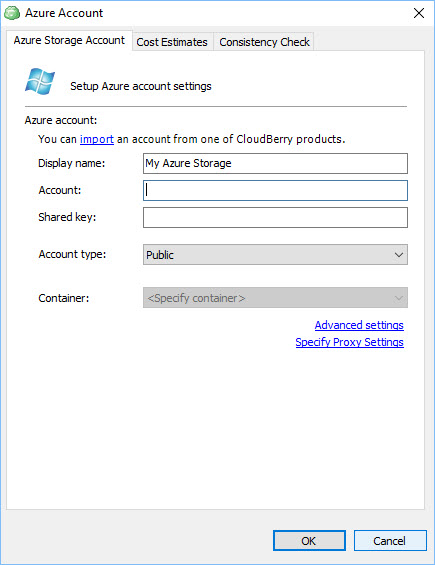
Most of these are self-explanatory. If you haven’t already created an Azure storage account do that next, then go into the Access Key panel and grab one of your access keys. Here is the screen you’re looking for.
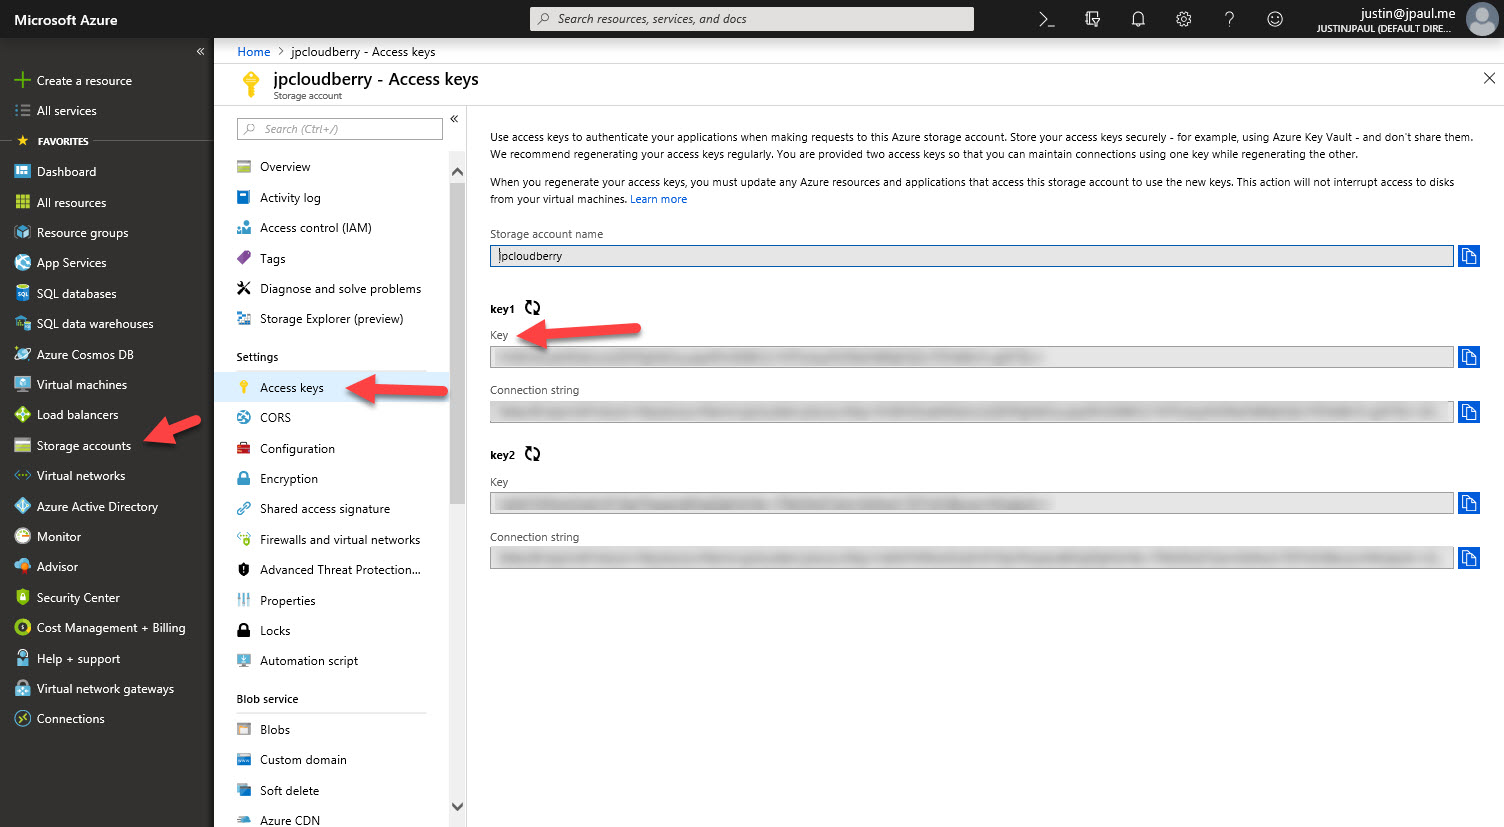
In the “Account” field you will want to put your storage account name, then paste in your access key into the “Shared Key” field.
One piece of advise I would give CloudBerry is to make these fields names the same as what the storage provider calls them as it can be a bit confusing to someone new.
Anyhow, after entering that information click OK to save the settings. Now we are ready to create a backup job and send data to our Azure storage account.
Do you like Simple or Advanced?
CB Backup Desktop Edition has both choices for you when you go to create your backup job. I wanted to see all the geek stuff, so I picked advanced.
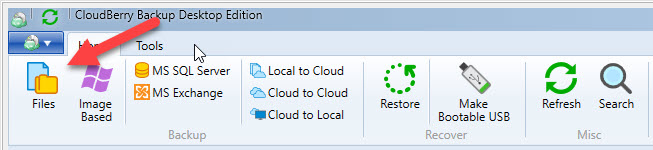
To get started select Files or Imaged Based from the top ribbon. I went with files.
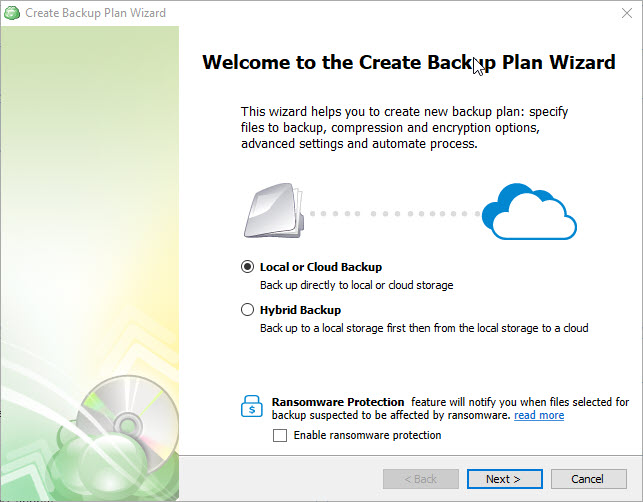
Once the wizard starts you get to choose if you want to store your backup data in one location or a hybrid of two locations. If you have a slow internet
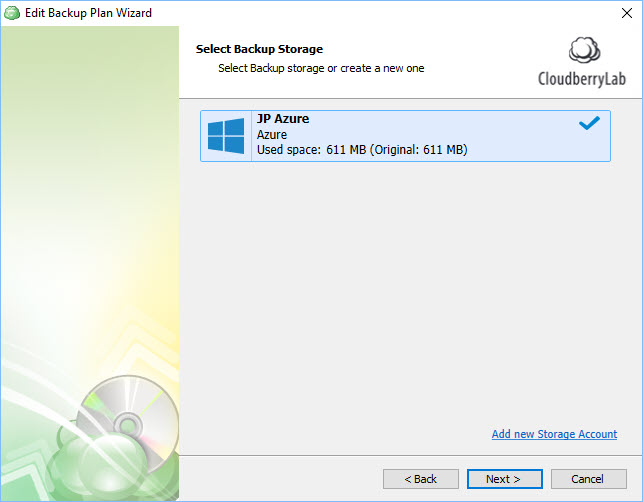
Next we pick the destination storage. Since I only have Azure configured as a storage location that is my only option.
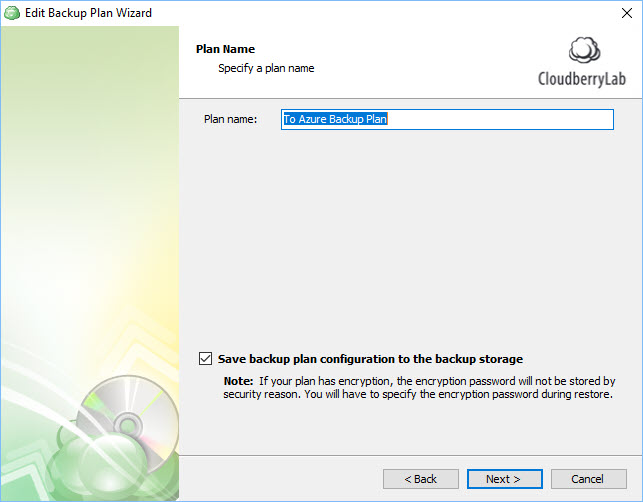
Everything needs a name, and your new backup job is no different… so set it to something meaningful to you.
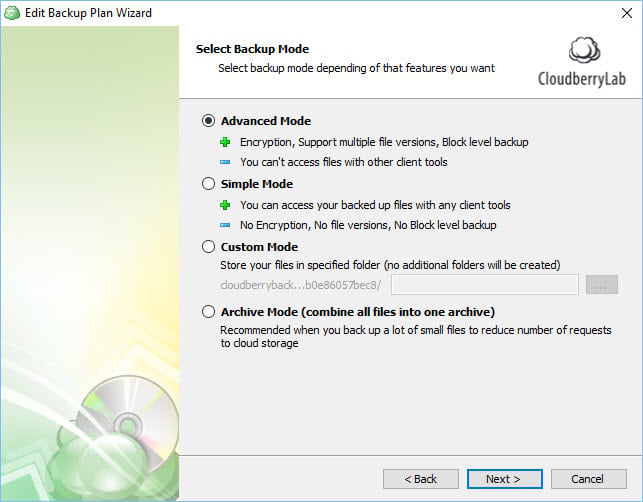
Next up is where you can select Advanced Mode. I wanted encryption so I selected advanced mode.
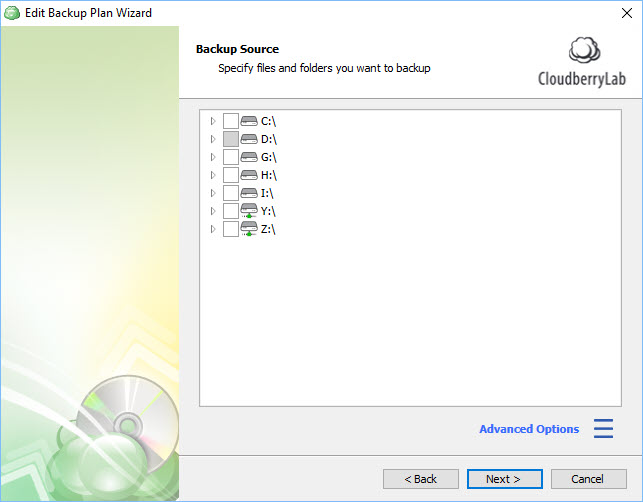
Now we need to select which files we want to protect. I am protecting just a subset of my total storage. Specifically the data that I upload to my NextCloud server. It is located on my D:\ drive which is why its grayed.
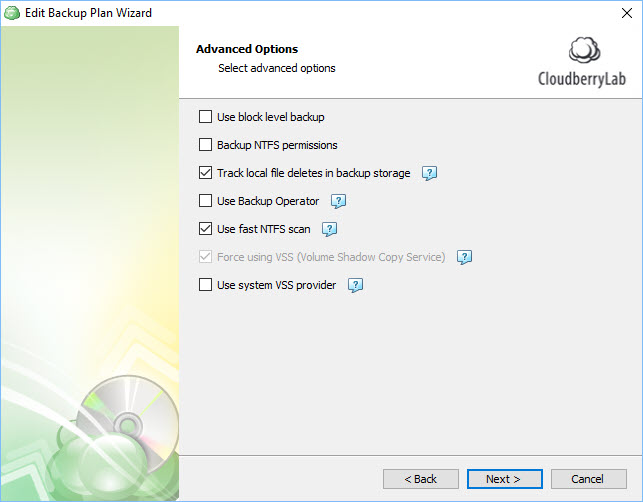
On the next step
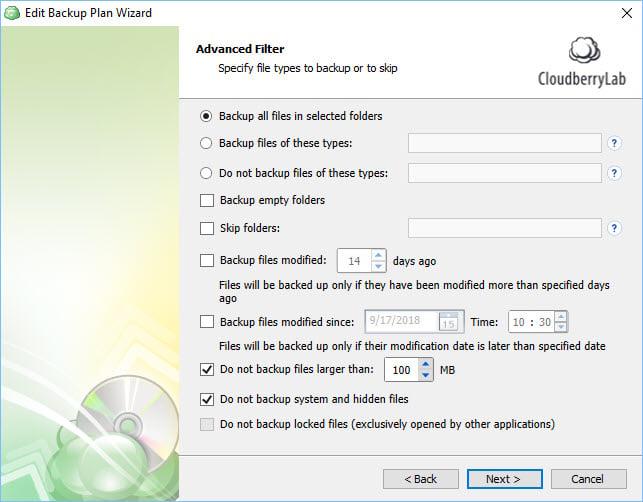
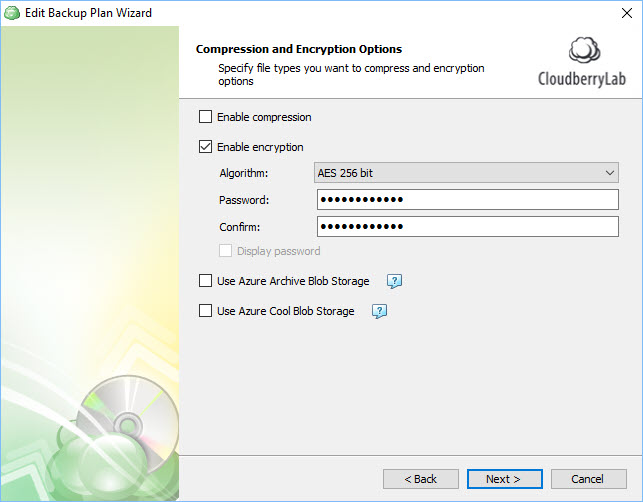
Next we pick an algorithm and specify a key for encryption.
Note: In the version I tested… If you have not already bought the full product (or are still in trial mode), you will still have the option to turn on encryption. However, it does not actually encrypt your files! So be careful, if you want encryption you need to wait to create the job until after you have licensed the product.
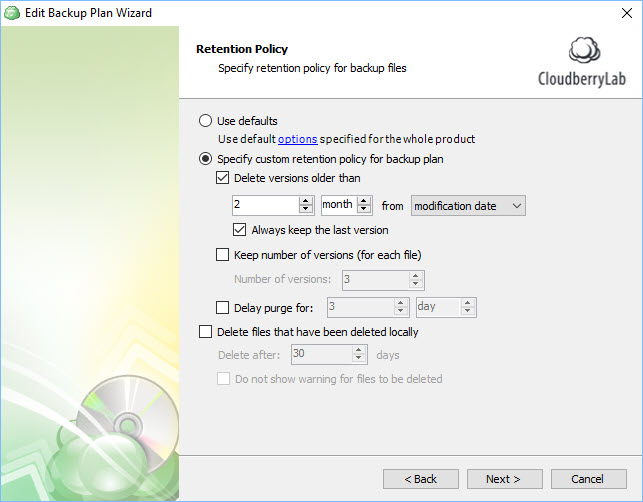
Next you can modify your retention policy settings, if you desire.
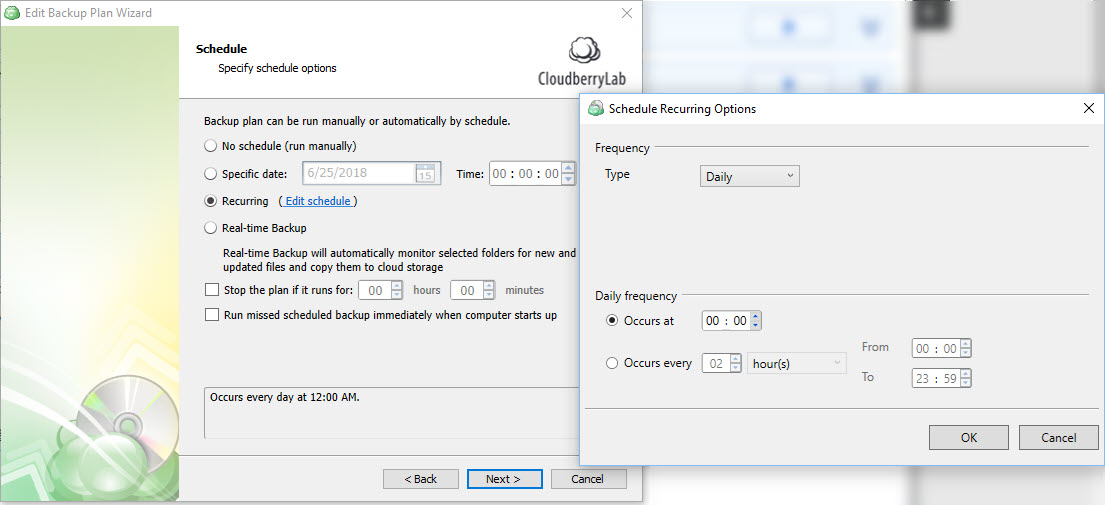
Scheduling, something you will probably want to customize depending on your needs. For me I pick daily recurring.
Lastly, there are some pre/post backup script options which I didn’t configure. Then a notifications page, which I simply put my email information into, and finally a Summary page. After clicking through all of those pages the job was created and did an initial run.
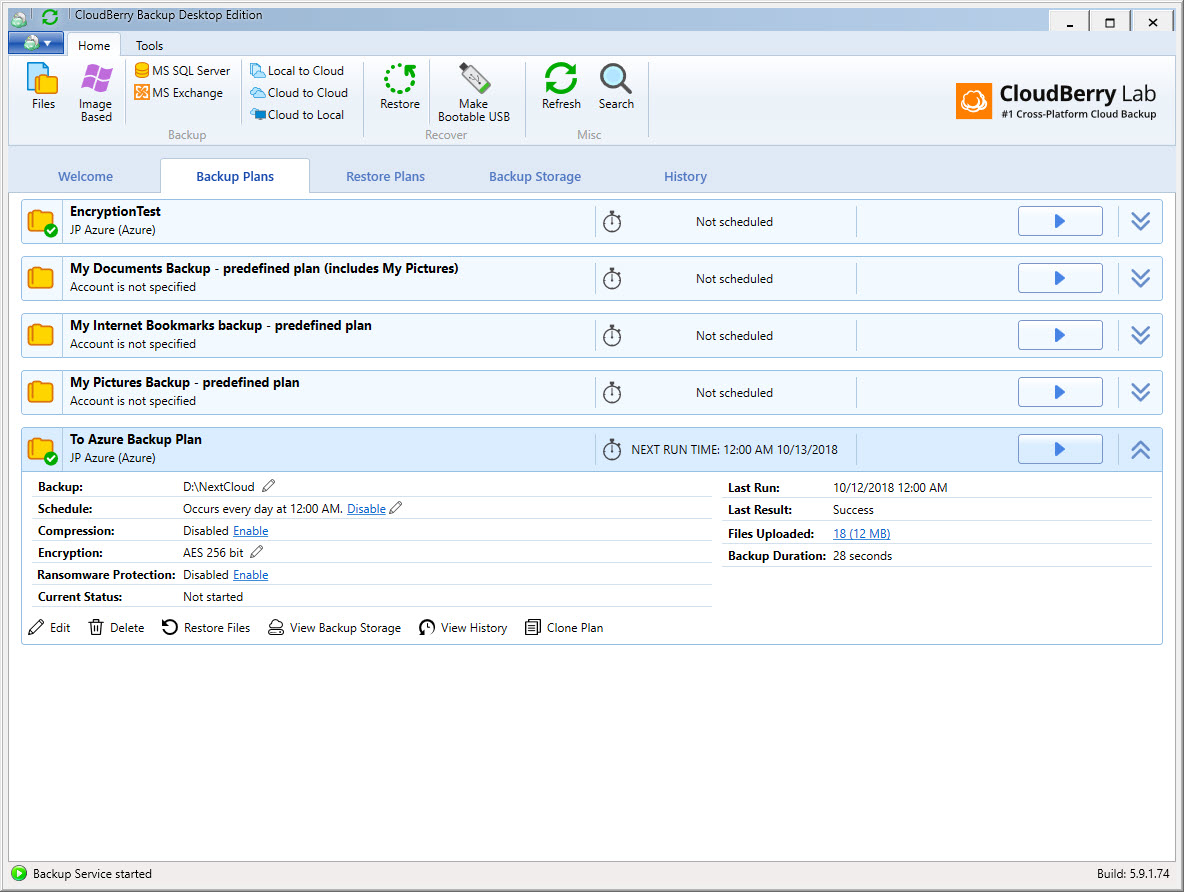
You can view job stats on the Backup Plans tab.
Backup is nothing without Restore
Restoring with CloudBerry’s Wizard
Restoring files is just as easy. Launch a Restore Wizard from the Restore Plans tab.
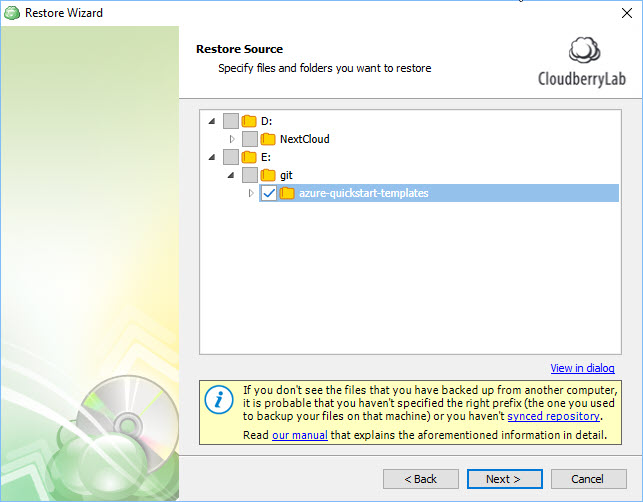
You have several different pages in the wizard you can customize depending on your restore situation, but eventually you get to the “pick the files to restore” page.
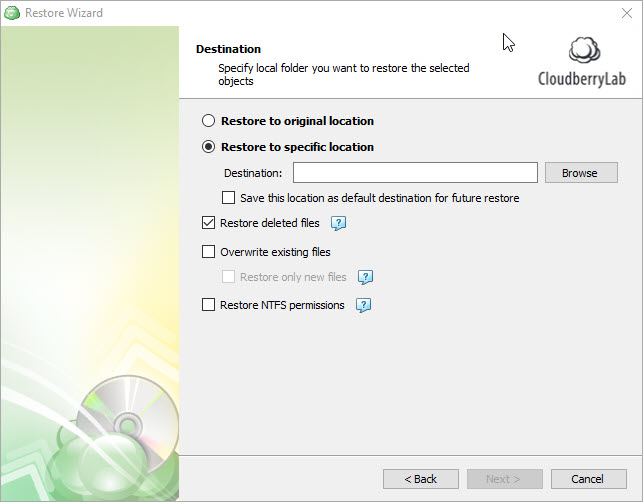
You then select where to restore them too. CloudBerry did a great job too because you can even restore the NTFS permissions! Nice!
After finishing the wizard it doesn’t take long for the restore to take place.
Restoring directly with Azure Storage Explorer
If you are backing up to Azure, and you didn’t encrypt your files, you can also use any utility that can explore the storage account. One such tool is the Azure Storage Explorer, which is free from Microsoft.
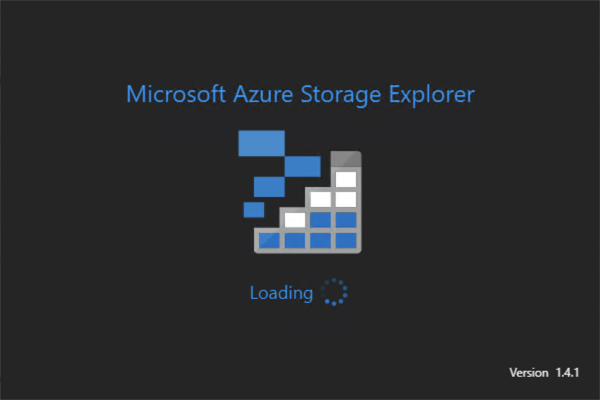
Basically you just fire up Azure storage explorer, browse down till you get to the file you want to see, and open it.
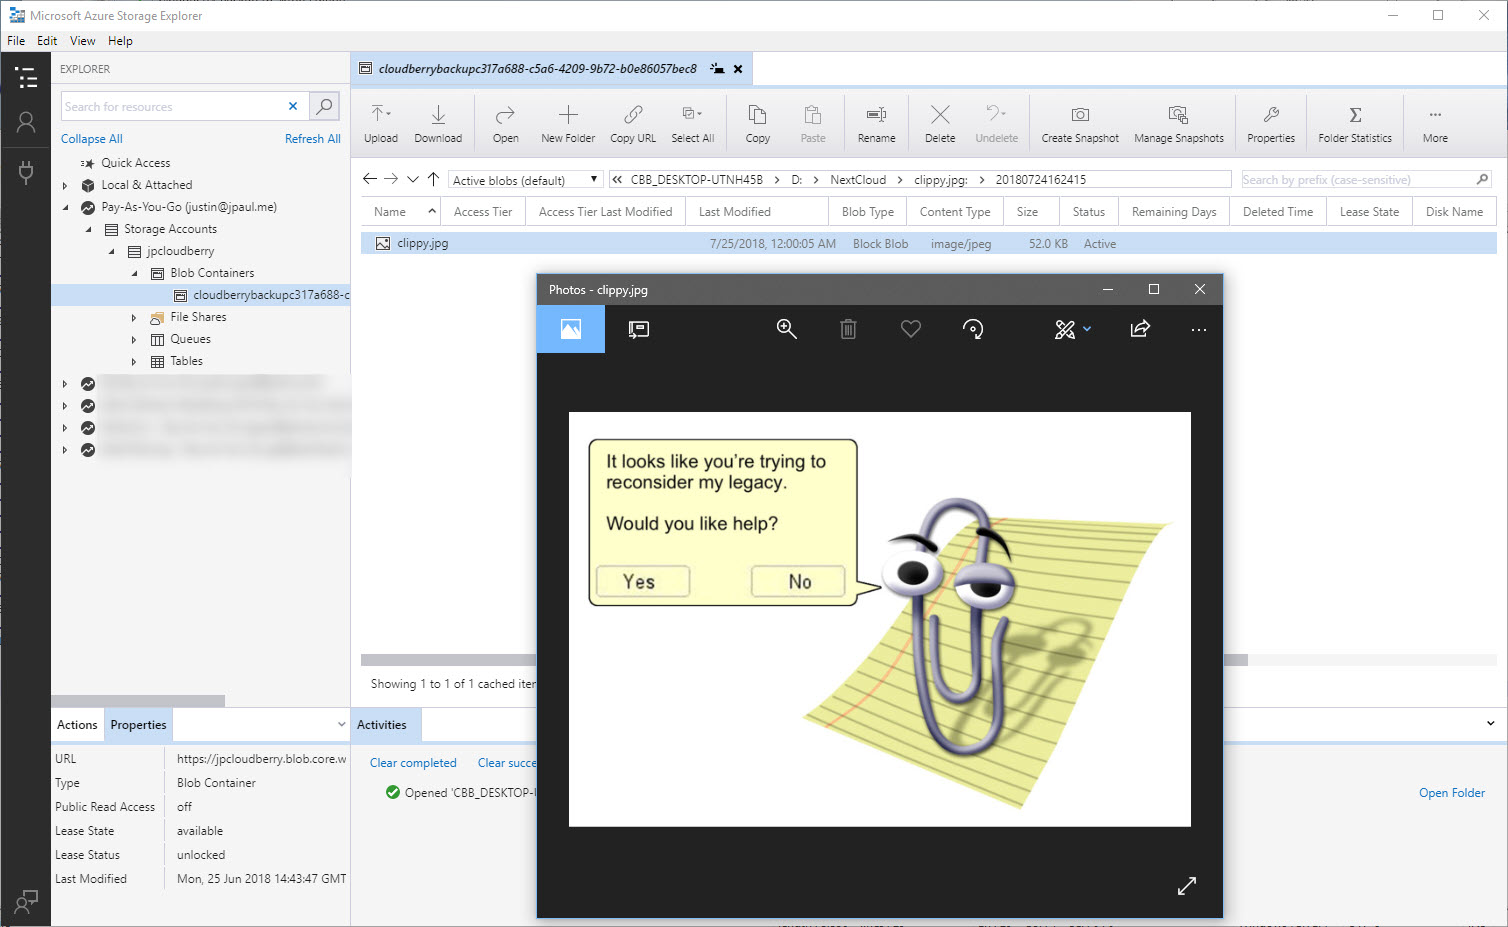
If a file is encrypted you will see something like this.
Summary
I’ve had CloudBerry Backup Desktop Edition protecting my desktop for at least 3 months. It has worked flawlessly and stays out of my way. I have tested recoverability several times and have not had a situation where I couldn’t recover some test files.
I have not messed with the
In closing, I would recommend that you give CloudBerry Desktop Backup a try if you are looking to protect your data and you want more control over the process then what you would get with some of the more basic backup services out there. You will need a little bit more knowledge on how to create a cloud storage account if you go that route, but in my opinion the control you get over your data is totally worth it!
![]()